The Software Manager is synchronized with the Workbench or the Niagara controller shared folder of the station. By default, the Software Manager displays the default nano EDGE ENGINE libraries supported by the version of the module. All third party libraries must be added to the shared folder.
To navigate, double click the Software Manager component in the device tree.
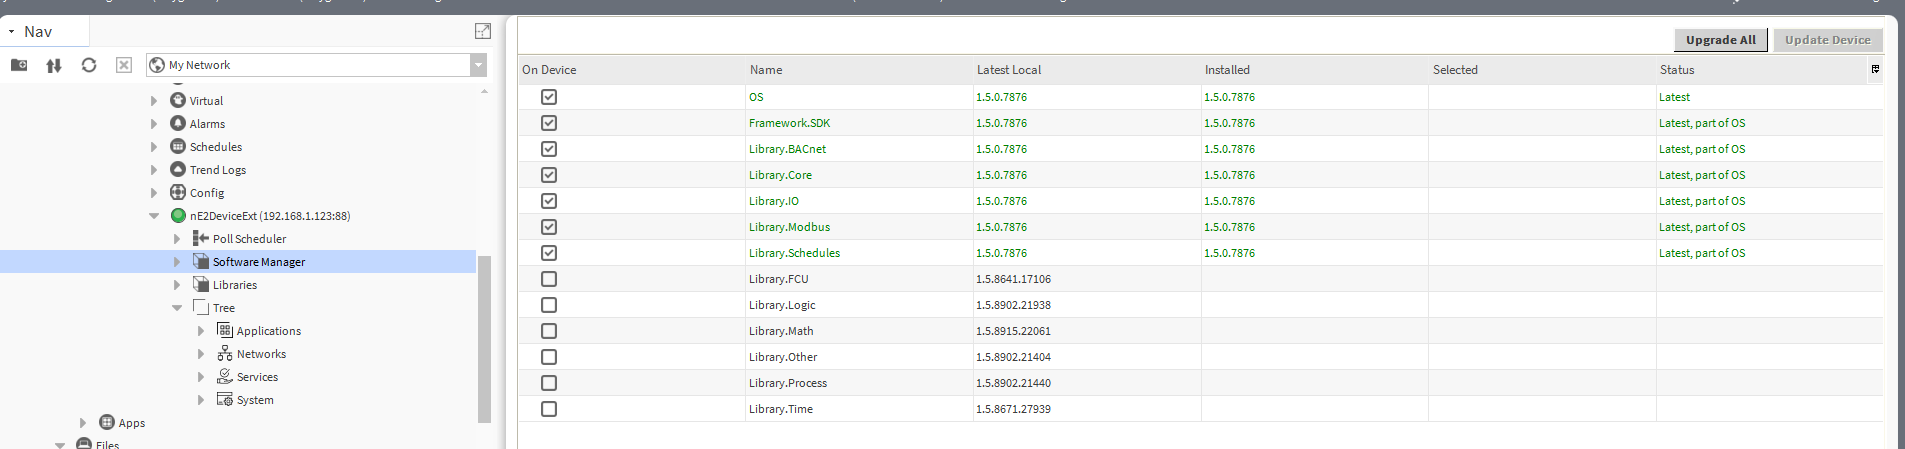
Using Software Manager
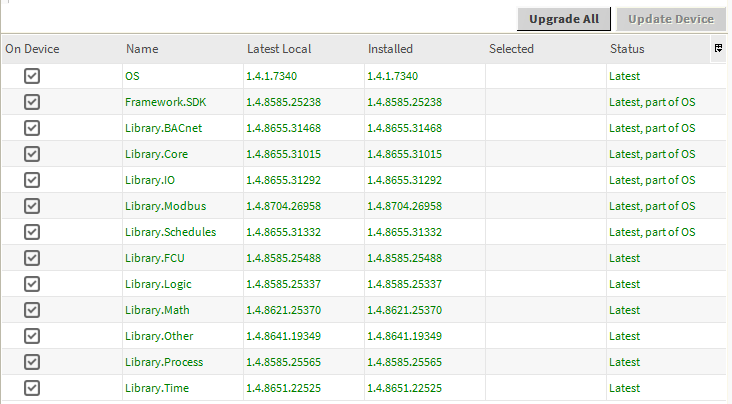
The Software Manager view lists the OS and libraries available locally. The view highlights each row (OS or libraries) according to its status:
-
green: the element is up to date, and requires no action;
-
orange: the element is out of date, and can be updated;
-
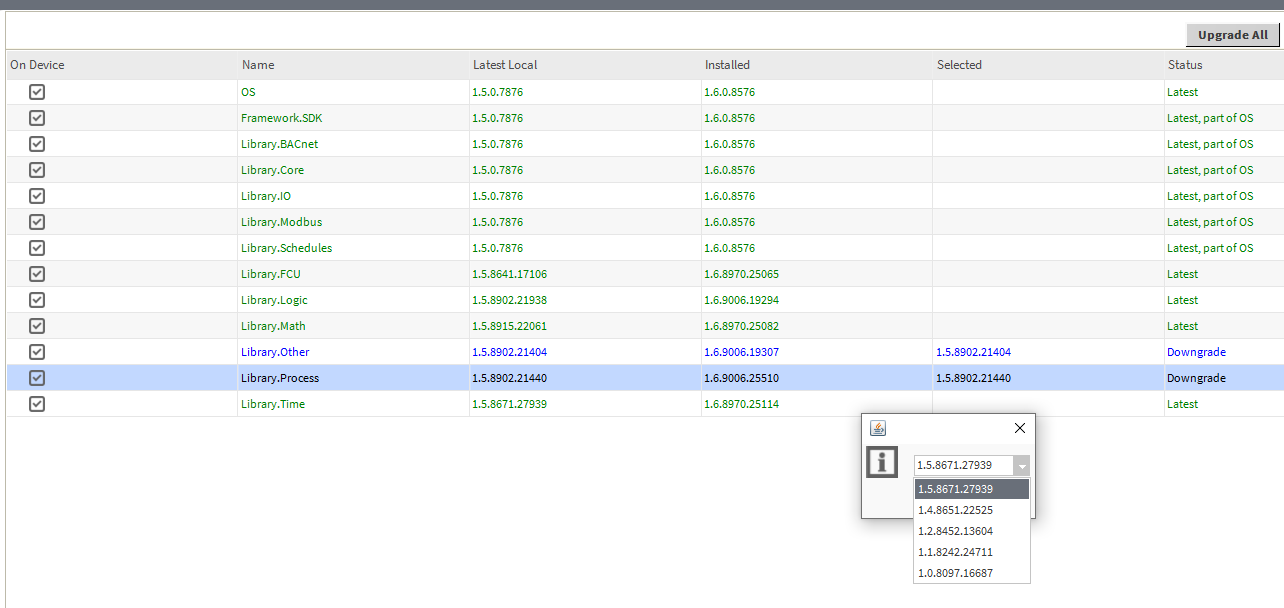
blue: the action is about to be taken on the element.
The Software Manager table contains the following columns:
-
On Device: indicates, whether a given element is already installed on the device.
-
Name: shows the name of the element.
-
Latest Local: shows the latest version available locally to be installed on the device.
-
Installed: shows the version of the element installed on the device.
-
Selected: opens a dropdown list with all versions available locally for a selected element.
-
Status: indicates, which action is to be performed on the element, once a specific version has been selected in the Action column.
-
Available information: Latest, Out of Date, Upgrade, Downgrade, Install, Uninstall, none (the selected version is the same as the one installed on the device).
-
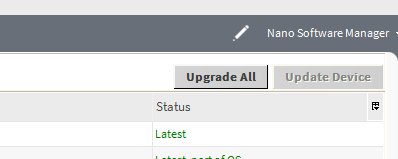
In order to upgrade or downgrade the selected element, choose the desired version of the element in the Selected column, and press the Update Device option (highlighted in blue in the right upper corner of the Software Manager). This option executes all actions indicated in the Status column.
Unless the user intends to manually select the versions to be installed, there is also the option to automatically select all newest versions for all out of date elements using the Upgrade All button.
Regardless of the fact, whether the user intends to add or remove the library, available in the Software Manager, each operation requires performing three steps:
-
check the box in the On Device column to install the library, or uncheck it to uninstall the library;
-
provided the library is to be installed on the device, check its preferred version in the Selected column–by default, the newest version available locally is indicated to be installed;
-
once selection of all libraries to be installed or uninstalled on the device is complete, hit the Update Device command.
Warning!
The OS cannot be removed from the device; it is preinstalled on the device's SD card, and the only operations, which can be performed on this element, are upgrading or downgrading it.
Uploading New Libraries
To load new libraries to the controller:
-
navigate to Station → Files → nanoEdgeEngine folder;
-
copy the proper nano EDGE ENGINE libraries and OS folder from the local PC by navigating to the proper location on My Host (local PC);
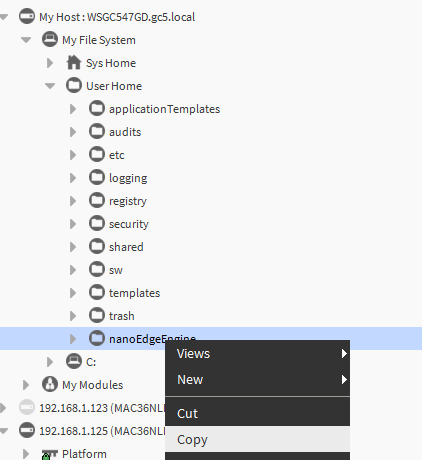
-
paste it under the Files container in the local station.
Note: Make sure that the folder is called “nanoEdgeEngine”!

Once the libraries are added, they will become visible in the Software Manager.
Note: Make sure that all necessary libraries are correctly placed in the Files of the local station.
-
Select the libraries and OS version to be installed, upgraded or downgraded on the controller, or select the Upgrade all option;
-
once all necessary software is selected, click Update device;
-
a pop-up will be shown asking to confirm the action. Click Yes to load the new OS and libraries.
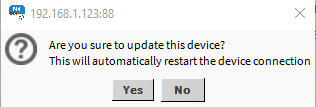
The device will be restarted automatically.
-
Once the device has restarted successfully, right-click on the nE2DeviceExt and connect to the device;
-
after reconnection, confirm that selected software was succesfully installed on the device.