Note
Please note that if the switch 1 on the S3 DIP switch is on, than configuration of the reheater and perimeter type from any other source is blocked (iSMA Configurator), as well as any changes made to the referring parameters (for example, Heater Priority) will not be written to the device.
VAV Configurator
The configuration is carried out in a dedicated tool, VAV Configurator, available as a built-in tool in the iSMA Configurator:
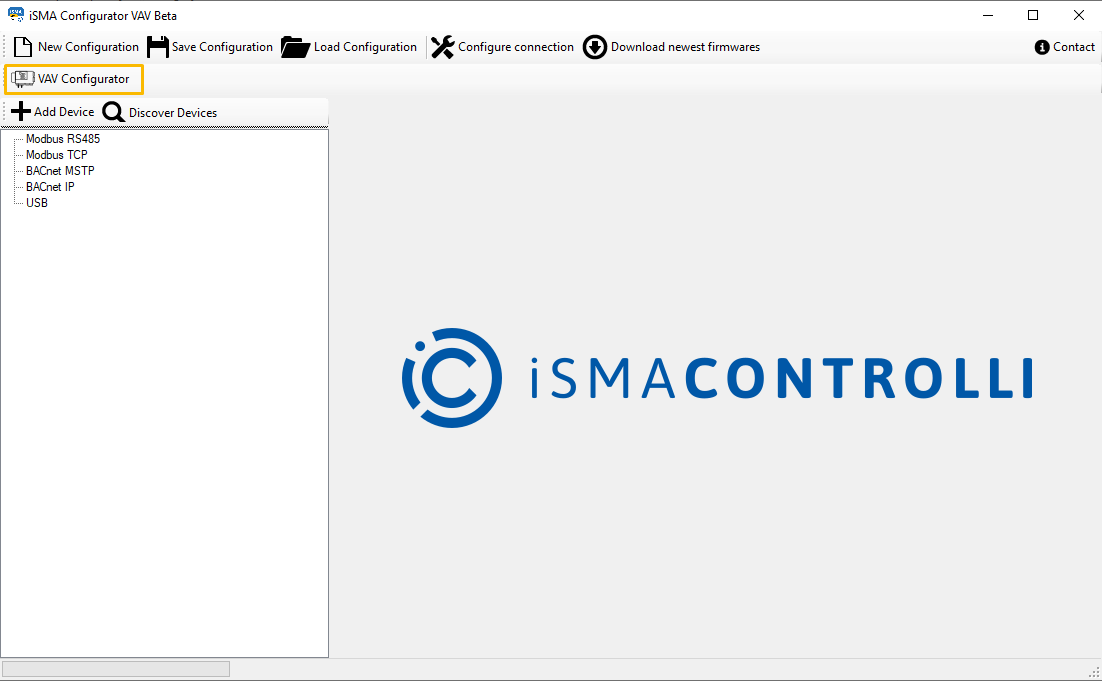
Opening the VAV Configurator
The VAV Configurator is accessible under a dedicated button.
Before opening the VAV Configurator, it is required to start a BACnet IP transmission. Normally, a start-transmission prompt will be displayed automatically after pressing the VAV Configurator button:
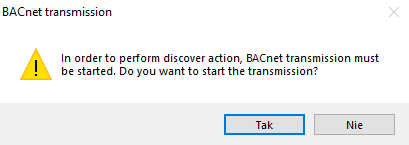
Confirm the pop-up window and the BACnet IP transmission will be started automatically.
Note
In case there are any problems with an automatic start of the BACnet IP transmission, start it manually. Find out more here.
If BACnet IP communication is not started, the VAV Configurator button is not active.
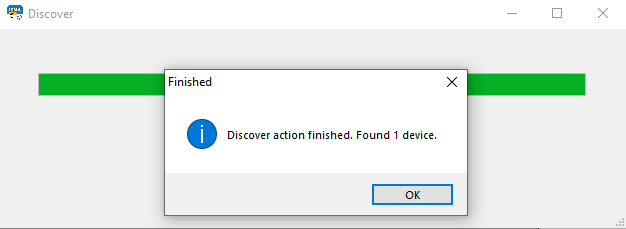
Discovering Devices
The next required step is discovering devices. Use a dedicated button in the left top corner of the VAV Configurator window:
Warning!
For the discovering process to be successful, make sure that the subnet mask of the PC is compliant with the subnet mask of the device to be discovered. Network parameters of the controller can be checked and/or changed in the Ethernet component (System container).
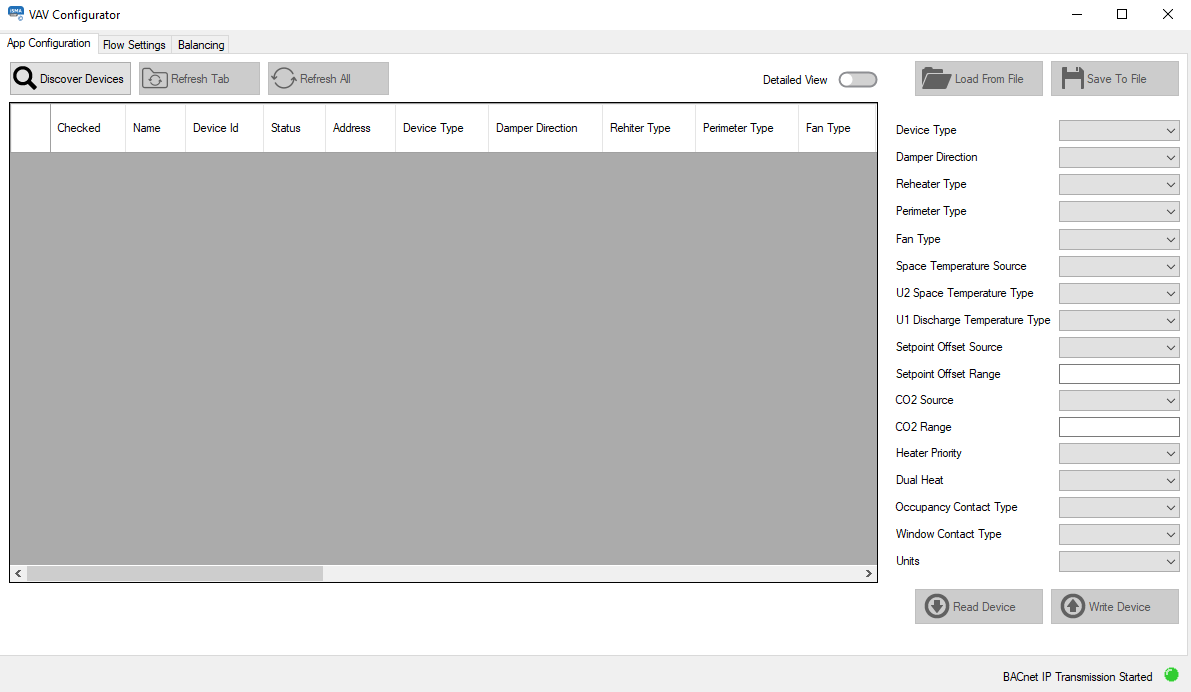
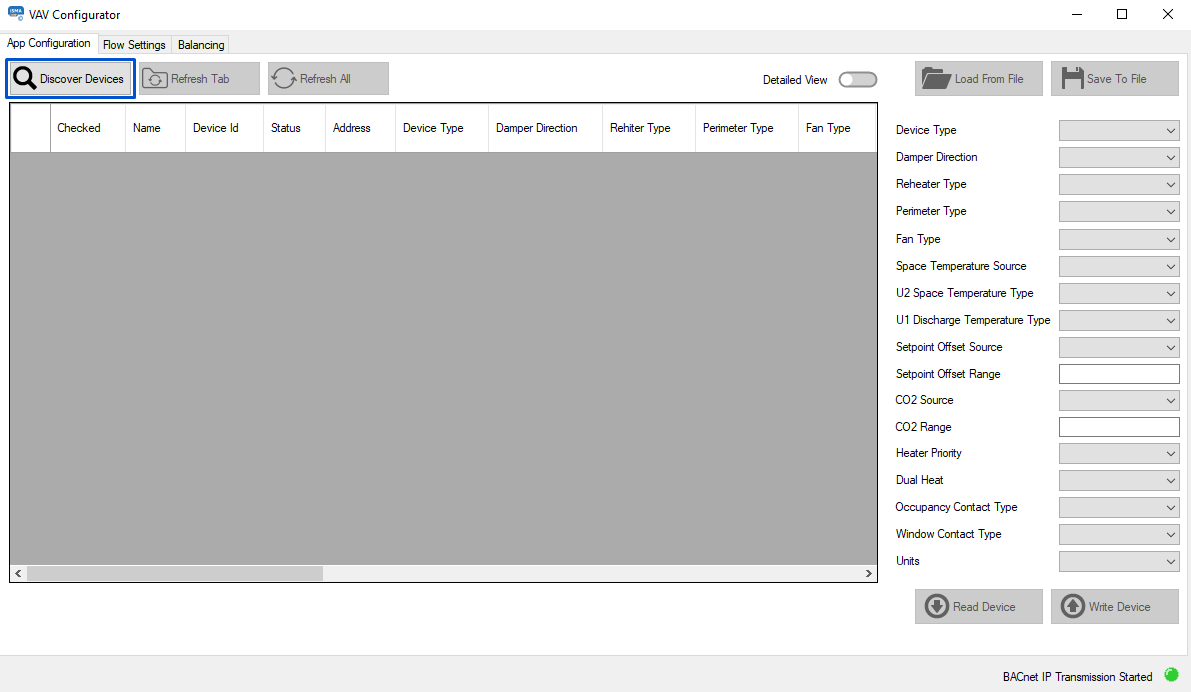
App Configuration
The first tab of the VAV Configurator is the App Configuration tab. Here, it is possible to execute four basic actions and configure some Pressure Control example application parameters.
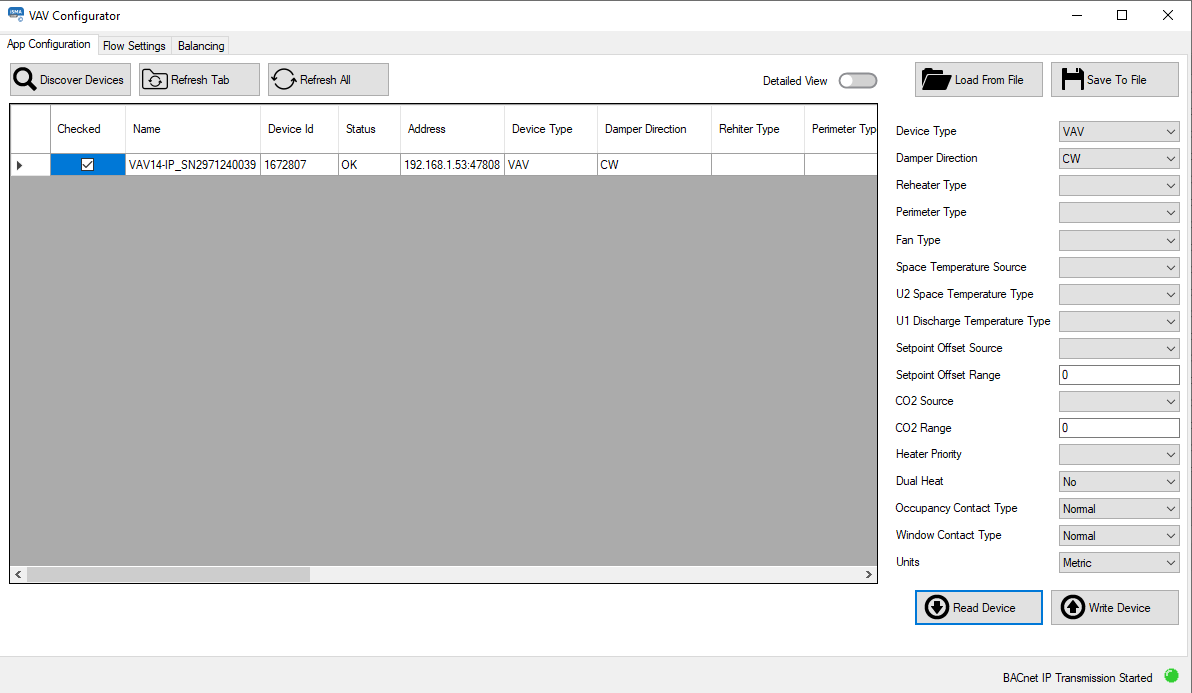
The four available actions are:
-
Load From File: allows to upload application parameters from a previously saved file (*.json);
-
Save To File: allows to save current application settings to a .json file;
-
Read Device: reads current application settings directly from the device;
-
Write Device: sends new settings to the device.
Warning!
Please note that if the switch 1 on the S3 DIP switch is on, the Write Device action will take no effect.
The Pressure Control example application parameters available to configure are:
-
Device Type: unused;
-
Damper Direction: allows to set a damper moving direction to clockwise or counterclockwise (DamperDirection);
-
Reheater Type: allows to set a reheater type;
-
Available settings: none, TimeProp (PWM), staged, float;
-
-
Perimeter Type: allows to set a perimeter type;
-
Available settings: none, TimeProp (PWM), digital, float – not allow;
-
-
Fan Type: unused;
-
Space Temperature Source: allows to set a leading source for temperature measurement for the space temperature control loop calculations;
-
Available settings: panel (Control Point VAV), input (U2), network;
-
-
U2 Space Temperature Type: allows to set a space temperature sensor type on the universal input 2;
-
Available settings: voltage measurement, current, resistance input, specific temperature sensor;
-
-
U1 Discharge Temperature Type: if connected, allows to set a discharge temperature sensor type on the universal input 1 (used in the supply air temperature control loop calculations);
-
Available settings: voltage measurement, current, resistance input, specific temperature sensor;
-
-
Setpoint Offset Source: allows to set a source for temperature setpoint offset settings;
-
Available settings: panel (Control Point VAV), input (U3), network;
-
-
Setpoint Offset Range: allows to set a range for setpoint offset settings;
-
CO2 Source (Pressure Source): allows to set a leading source for pressure measurement for the pressure control loop calculations;
-
Available settings: panel (Control Point VAV) – not in use, input (U4), network;
-
-
CO2 Range (Pressure Range): allows to set a relative range for Pressure Sensor reading;
-
Heater Priority: allows to select a first priority heat source in the DualHeat function for the reheater and perimeter (if used in the system);
-
Available settings: reheater, perimeter, simultaneous;
-
-
Dual Heat: allows to enable a possibility to use one or two heat sources (reheater and perimeter, if used in the system);
-
Available settings: no, yes;
-
DualHeat
The DualHeat function allows to select one or two stages of heating (two stages of heating meaning heating with a reheater and perimeter).
Heater(s) in the primary stage can be reheater or perimeter, in the secondary they will be in opposite. If available in the system and properly configured, they can be arranged in order according to the HeaterPriority variable (ReheaterControl folder):
-
reheater/perimeter
-
perimeter/reheater
-
simultaneous.
If there is no reheater and/or perimeter in the system, the DualHeat function cannot be activated. If the reheater is available in the system, it can be configured as the primary stage heater and the DualHeat function can be activated.
-
Occupancy Contact Type: allows to select an occupancy contact type;
-
Available settings: normal, invert;
-
Normal/invert Modes
If available, the motion detector is connected to the I1 digital input. It is possible to choose between two types of a presence sensor operation:
-
normal (default): I1 true - presence detected, I2 false - no presence detected,
-
invert: I2 true - no presence detected, I2 false - presence detected.
-
Window Contact Type: allows to select a mode window reed switch operation;
-
Available settings: normal, invert;
-
Normal/invert Modes
If available, the window reed switch is connected to the I2 digital input. It is possible to choose between two types of a reed switch operation:
-
normal (default): I2 true - window open, I2 false - window closed,
-
invert: I2 true - window closed, I2 false - window open.
-
Units: allows to select a units system;
-
Available settings: imperial, metric.
-
Mode Override from Balancing tab
The Mode Override action allows to force an operating mode to a damper. Available modes are:
-
Auto: sets auto mode (Pressure Control example application logic takes control),
-
Max flow: no action,
-
Min flow: no action,
-
User flow: no action,
-
User position: goes to a user-set position (% of damper opening),
-
Full open: damper fully open,
-
Full close: damper fully closed,
-
Calibrate: performs a damper calibration (the damper goes to 100%, than to 0%, and goes back to the control loop output).
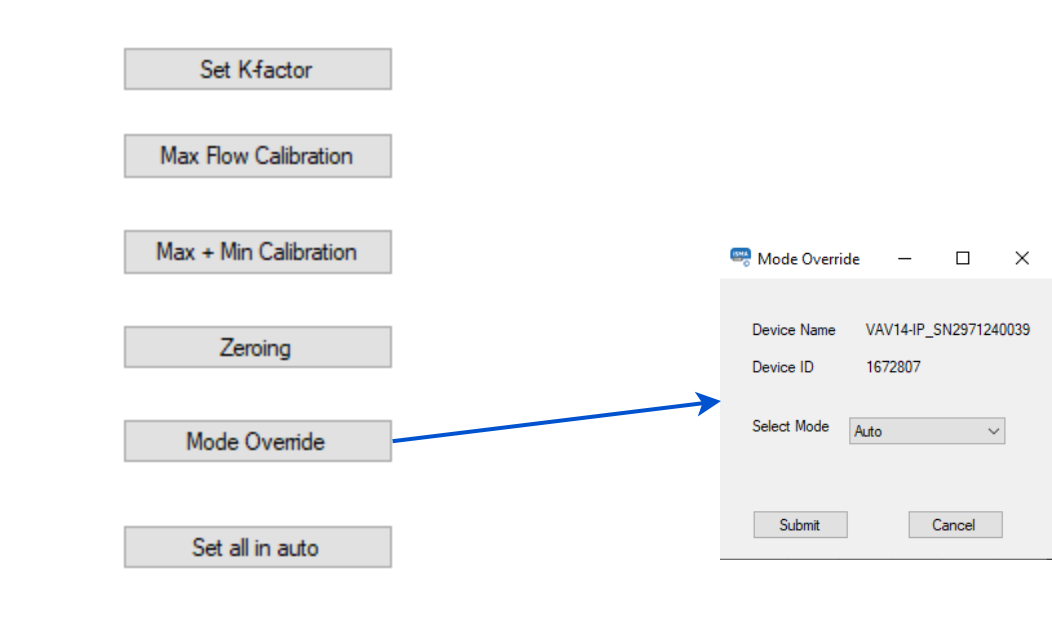
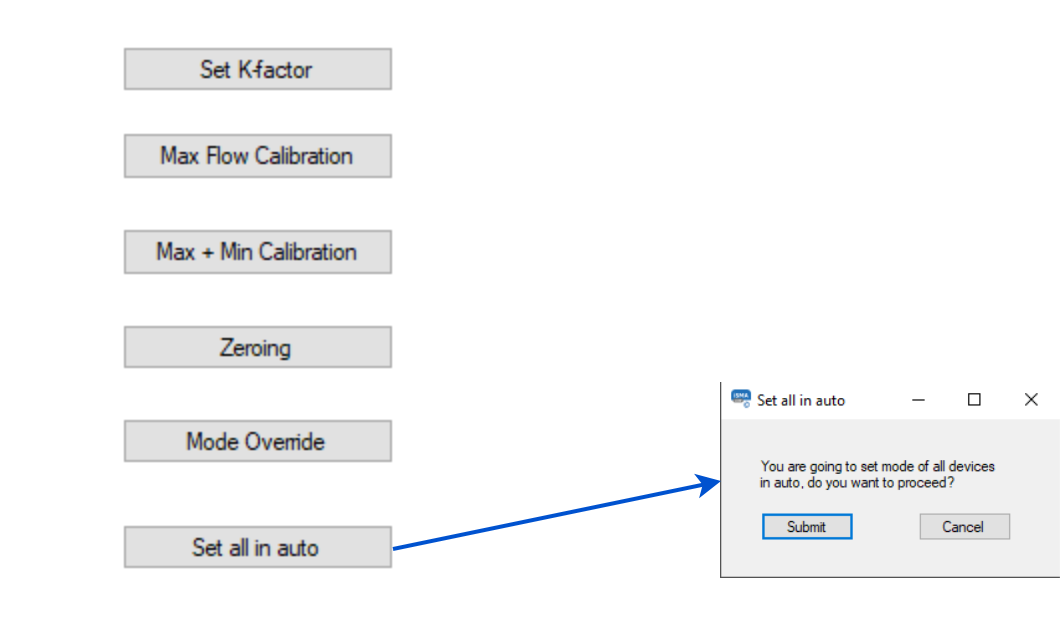
Set All in Auto
The Set All in Auto action forces all dampers to the Auto operating mode.