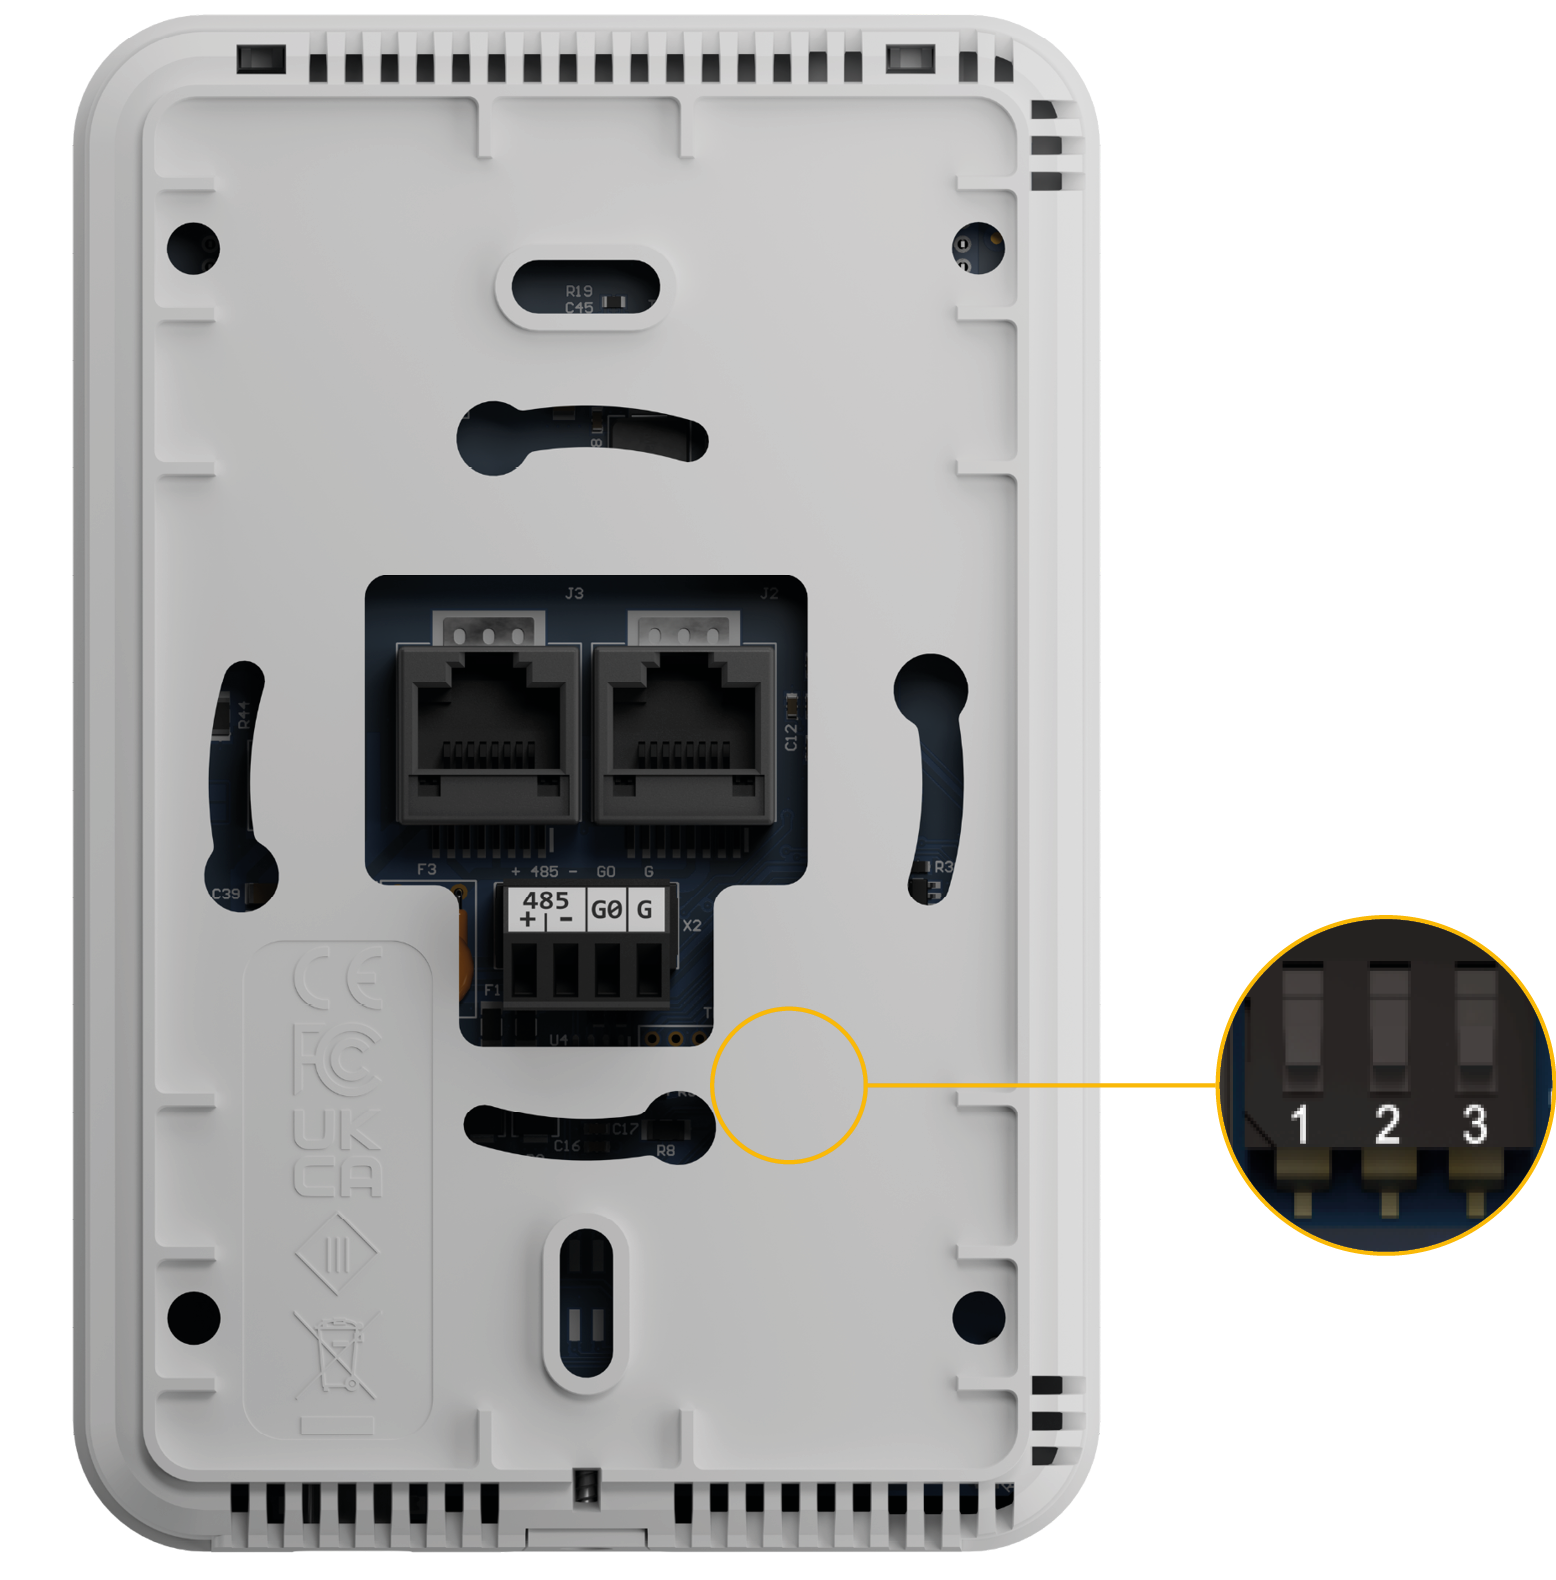
The Control Point panel is equipped with a 3-position DIP switch. Each of three sections has a separate function:
-
the first switch allows for restoring default settings;
-
the second switch allows for selecting a communication protocol;
-
and the third switch allows for the RS485 network termination.
Restoring Default Settings
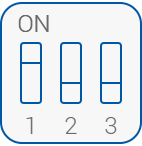
The first switch provides a possibility to restore default settings in the panel. In order to do so, follow the steps below:
-
Turn off the power supply;
-
set the first switch to on;
-
turn on the power supply;
-
wait until LCD backlight starts blinking;
-
set the first switch to off.
Default Settings
|
Variable |
Default Value |
|---|---|
|
Baud rate |
115200 |
|
Stop bits |
1 |
|
Data bits |
8 |
|
Parity bits |
None |
|
Protocol |
Modbus RTU |
|
Modbus address |
1 |
|
Replay delay |
None |
Default values
Selecting Communication Protocol
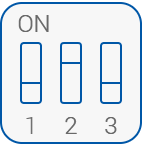
The second switch selects between the available communication protocols, Modbus RTU/ASCII or BACnet MS/TP:
-
Off: Modbus RTU/ASCII (default for Control Point series),
-
On: BACnet MS/TP (default for Control Point VAV series).
RS485 Network Termination
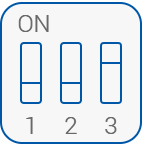
The third switch adds or disconnects a termination resistor to the RS485 network:
-
Off: termination resistor disconnected (default);
-
On: termination resistor added (120 Ω).
Note: The first and last device in the network require activated termination.