Default Communication Settings and Credentials
Default Communication Settings
The RAC18-IP default network communication settings are:
IP address: 192.168.1.123;
mask: 255.255.255.0;
default gateway: 192.168.1.1.
Address Pool Consistency
The Ethernet IP interface can be used to connect the device to the computer network, which it will work in, or to the computer itself. If the device is connected to the computer network, make sure that the IP address of the device is in line with the address range of the computer network. In case it differs, the device first needs to be connected directly to the computer and have its IP address changed manually. In such case, the Ethernet TCP/IPv4 connection needs to be fixed manually, making sure that the device's network parameters (IP address, mask, and default gateway’s) are consistent with the Ethernet connection's address pool.
DHCP
Apart from setting the device's IP address manually, in the RAC18-IP, it is possible to use the DHCP protocol, which automatically attributes an IP address to the device from the DHCP server.
To enable the DHCP protocol, go to the Ethernet1 component in the System container, and set the DHCP Enabled slot to true.
Warning!
The DHCP server will automatically assign a new IP address after restarting the device. Communication using the existing IP address will no longer be possible.
In case the DHCP server is not available of if the DHCP Enabled slot is set back to false, the default IP address is set to the device (192.168.1.123).
Changing Communication Settings
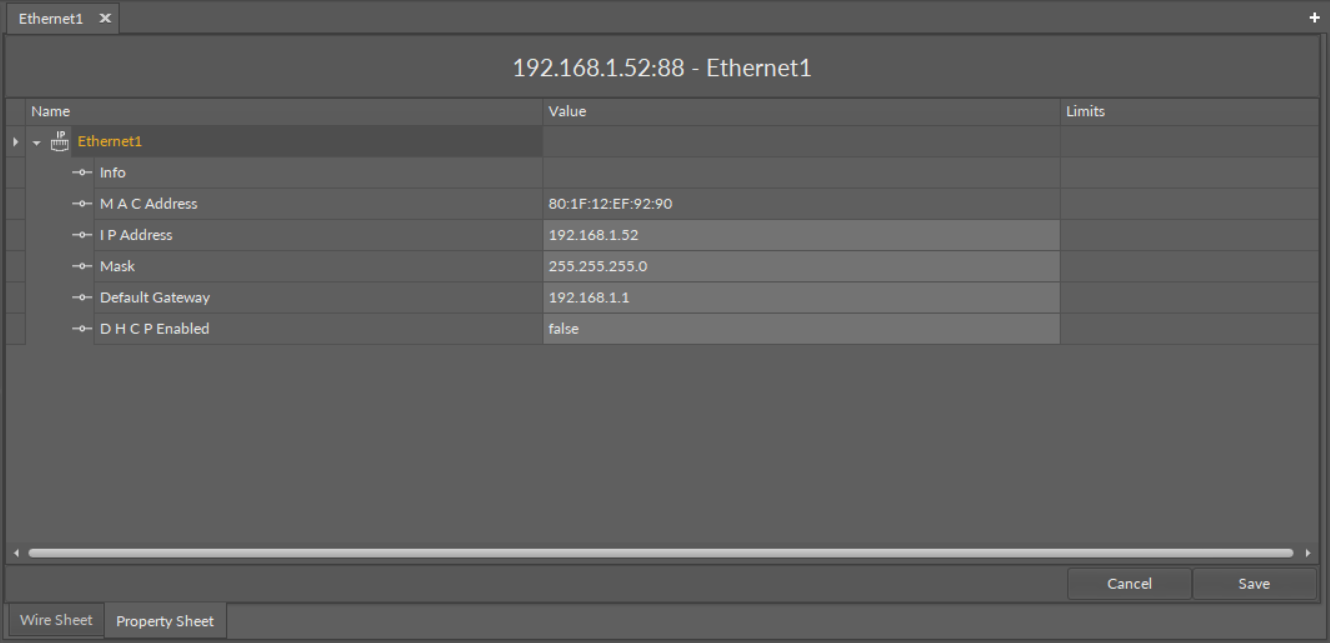
The default communication settings can be changed in the Ethernet1 component, which is located in the Platform component in the System container.

Ethernet1 component
Default Credentials
The RAC18-IP default credentials are:
Username: admin
Password: admin
Factory Default
Restoring factory default settings erases all user configuration from the device:
it restores the default IP address;
it clears the user application;
it clears all other user configuration.
In order to restore the device to its default settings, use the 6th switch on the 6-position DIP switch installed in the front panel. The process of restoring default settings of the controller includes the following steps:
Step 1: Disconnect the device in the iC Tool.
Step 2: Switch the 6th switch on the 6-position DIP switch to the on position.
Step 3: Turn the power supply off, and wait until the power LED switches off.
Step 4: Turn the power supply on, and wait until the power LED starts blinking.
Step 5: Switch the 6th switch to off position, and wait until only the power LED lights constantly.
Step 6: The device is restored to factory settings and ready to use.
Cancelling the Restore to Factory Settings Procedure:
The process of restoring factory settings can be reversed until Step 4. In order to cancel the procedure, follow the alternative steps:
Step 5: Turn the power supply off.
Step 6: Switch the 6th switch to the off position.
Step 7: Turn the power supply back on. The device is not restored, all configuration remains intact.
