The Trends service provides a simplified management of one or many Trend and BACnetTrendLog extensions to Data Points. It allows to manage historical data coming from Data Points and enable or disable saving these data from a specific Data Point.
Trends are executed by adding a dedicated extension to Data Points:
-
Trend extension to the AnalogDataPoint;
-
Trend extension to the BinaryDataPoint;
-
Trend extension to the MultistateDataPoint.

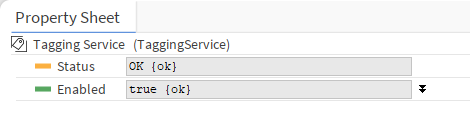
The Trends Service is automatically available in the Services container once the Trends library is installed on the device. The Trends library is a default part of the nano EDGE ENGINE V1.8 and is not compatible with previous versions.
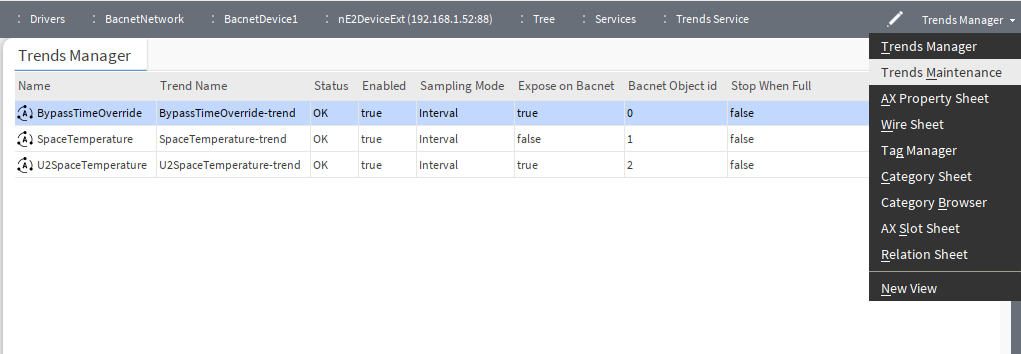
Trends Manager
The Trends Manager is a simple view containing the list of all trend extensions added to Data Points.
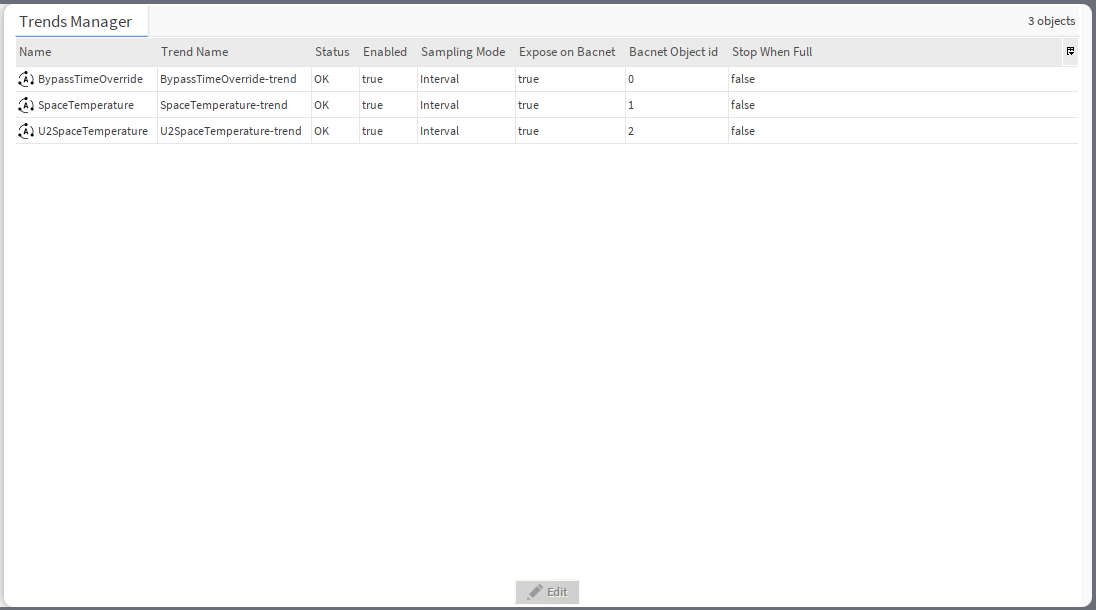
The view allows to see all relevant information about the trend extensions, edit or clear trends data.
The Trends Manager has the following columns:
-
Name: shows the name of the Data Point that contains the trend extension;
-
Trend Name: shows the name of the trend set in the Trend extension;
-
Status: shows the status of the trend extension;
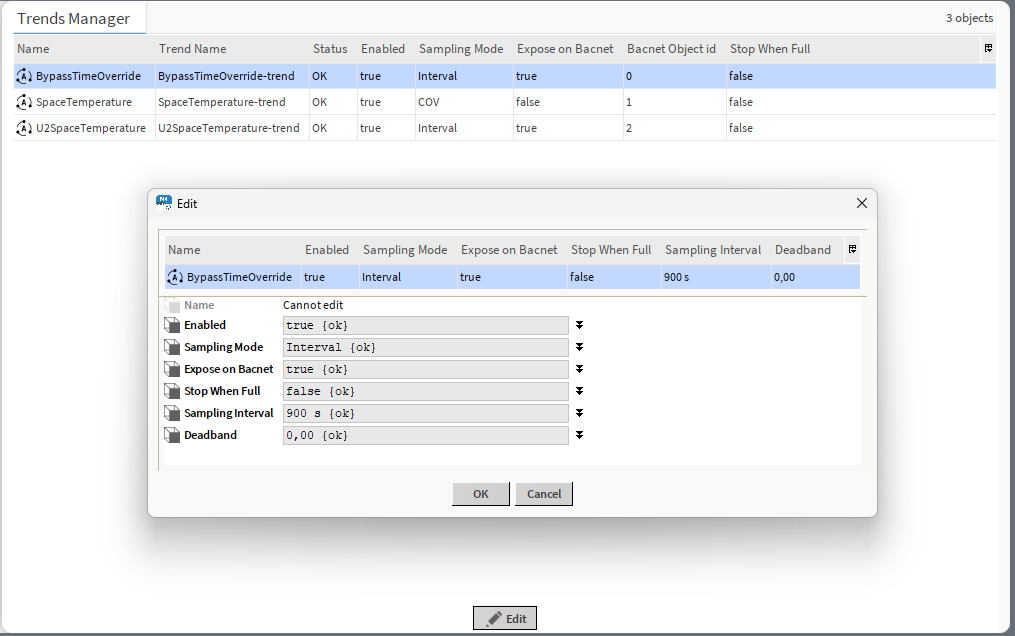
(the below data are editable in a pop-up window available upon selecting the trend(s) from the list and using the Edit button or from the trend’s context menu):
-
Enabled: shows if the trends extension is enabled in the Data Point;
-
Sampling Mode: informs about the way the samples are gathered;
-
Expose On BACnet: informs if the trend extension is automatically exposed on the BACnet network;
-
BACnet Object ID: shows the assigned BACnet ID, if exposed;
-
Stop When Full: informs if the stop-when-full setting is enabled in the extension.
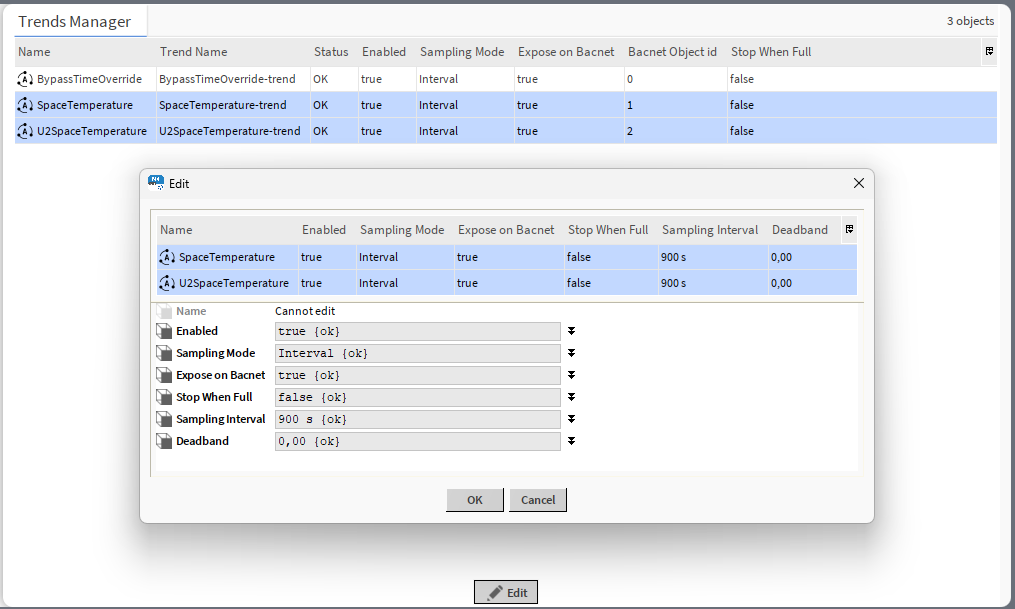
Additional parameters available to configure in the pop-up window:
-
Sampling Interval: (applicable to interval or COV interval mode) time value, which triggers saving trend data;
-
Deadband: (available only if COV or COV interval mode is selected, applicable only in the AnalogDataPoint) allows to set a value for a non-responsive zone; the trend data will only be saved if the COV exceeds the deadband value;
Please note that all the above data is available and (some) editable in the trends extension’s slots in the relevant Data Point.
Multiediting
In the editing pop-up, it is possible to edit parameters for more than one trend at a time. To mark more than one trend for editing, use Shift or Ctrl keys. Then, press the Edit button.
Trends Maintenance
In the top bar menu in the Trends Manager, another trends view is available, the Trends Maintenance.
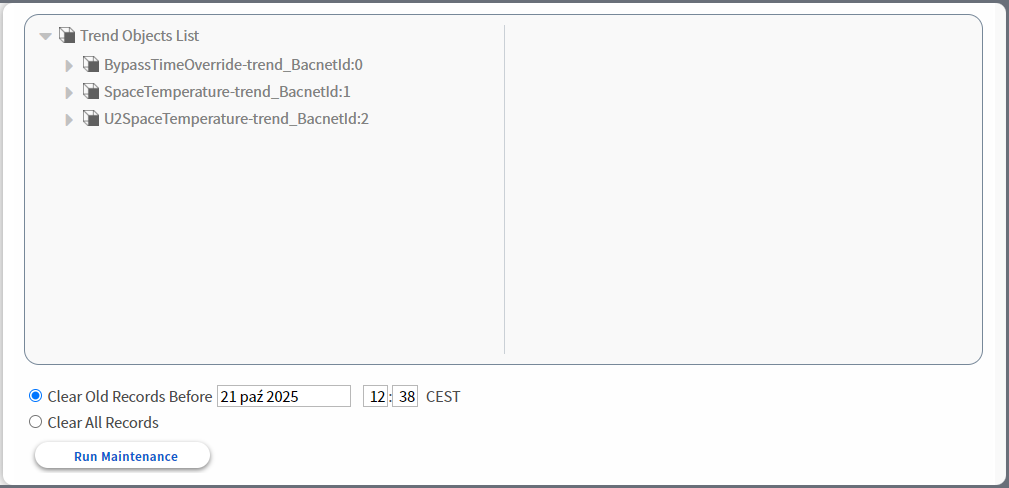
The Trends Maintenance view allows to clear data from the selected trend(s) or trends data up to a selected point in time.
Note
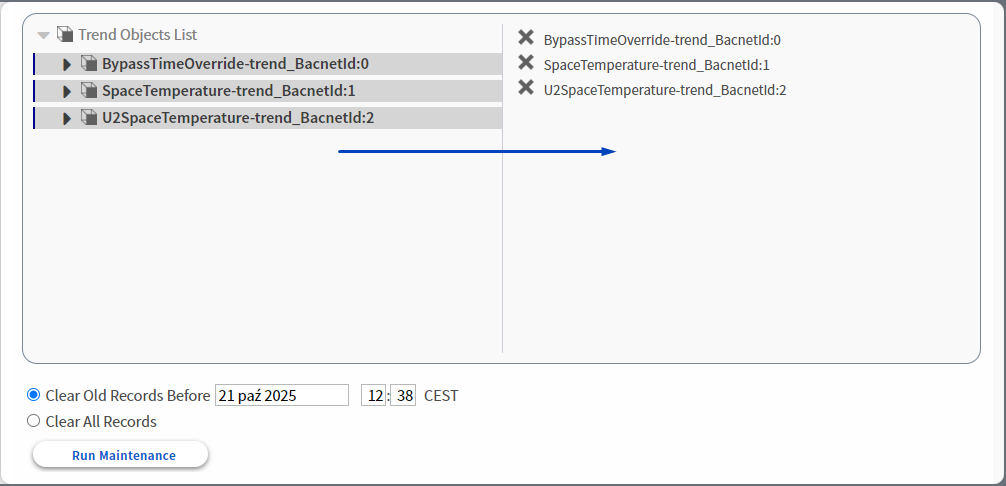
In the Trends Maintenance view, each trend's name is followed by the BACnet ID assigned to the trend to help identify Data Points which are named the same but located in different applications:
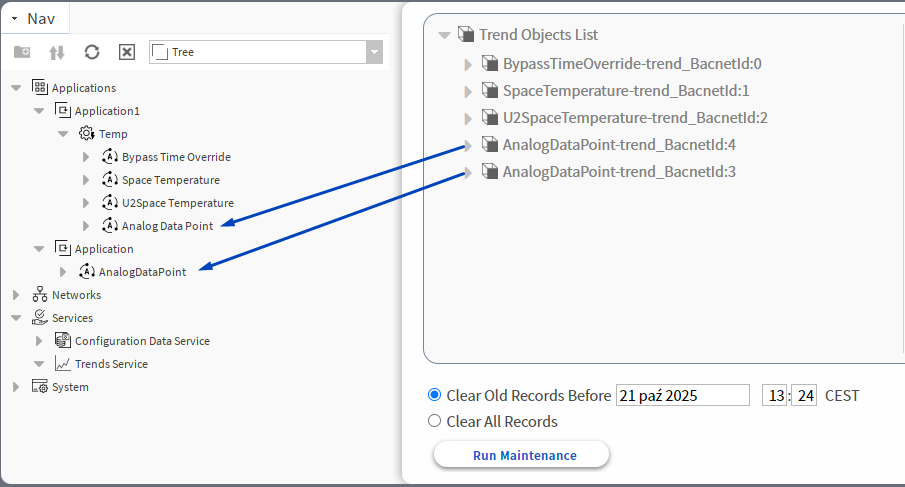
To clear trends data:
-
First, select which trends to remove data from:
-
double-click a trend in the left-side window,
-
drag and drop a trend from the left-side window to the right-side window.
-
To add more than one trend to the right-side window, use Ctrl while selecting trends in the left-side window.
Selected trends will appear in the right-side window and further operations will apply only to these trends.
To remove a trend from the right-side window, use the cross (X) button:

-
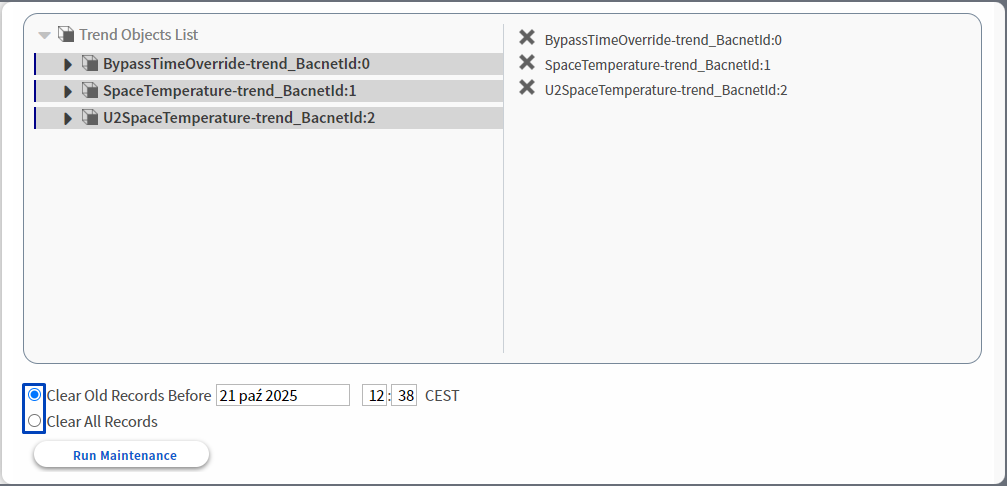
Select whether:
-
all trends data should be erased (second bullet) or
-
just data until a given point in time (first bullet, required to fill in date and time before which all trends data will be removed).
-
Note
The time format, when setting the time up to which the trends data will be deleted, is dependent on the computer time settings, it is either 12H AM/PM format or 24H format. If the time format is set to 12H and the time entered is in 24H time format, an error will be communicated:

-
Use the Run Maintenance button to erase data from selected trends. Removing trends data has to be confirmed in a pop-up window:

Successful removing of trends data is confirmed by a pop-up.