The article outlines one of two methods of uploading license files and certificates in controllers in the Niagara Workbench.
In order to upload license files and certificates, follow the below steps:
1. Log in to the user’s account in the Niagara Community, and go to the Licensing section. In the ‘Search Licenses’ field, enter Host ID of the SD card or PC, which can be found in the ‘Platform/Platform Administration/Host ID’.
2. Once the license has been found, select the Niagara version, which the license was downloaded for.
Figure 1. The Niagara version selection
3. Extend the ‘MORE’ button, and click ‘Download License’ and ‘Download Certificates’:
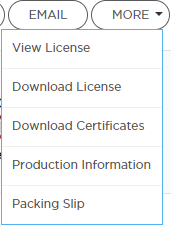
Figure 2. Options available under the ‘MORE’ button
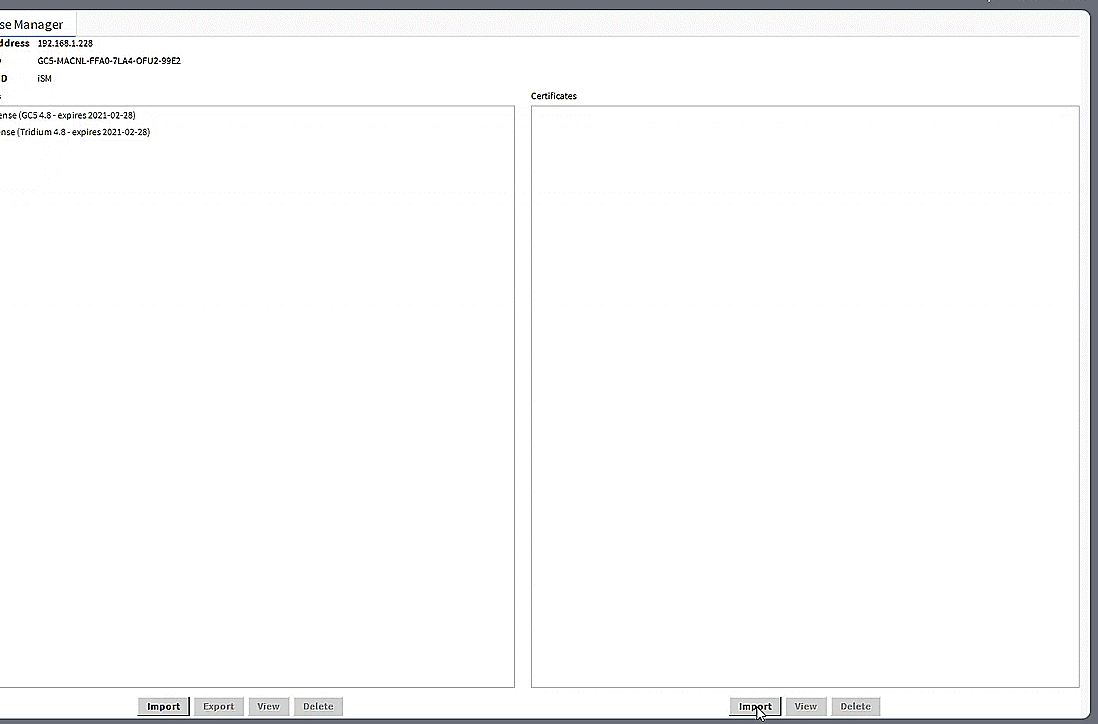
In Niagara Workbench, connect to the device, and go to the License Manager in platform.
WARNING: Locate downloaded files in easily accessible folder in order to facilitate using the License Manager.
WARNING: If no license or certificate is downloaded to the device, the respective windows in the License Manager are blank.
4. Under the ‘Licenses’ window, click the Import button. In the pop-up window, check the ’Import one or more licenses from files' option. In the next pop-up window, find a location with extracted license files, select them, and click OK. The license files will be uploaded to the device.
Animation 1. Uploading license files
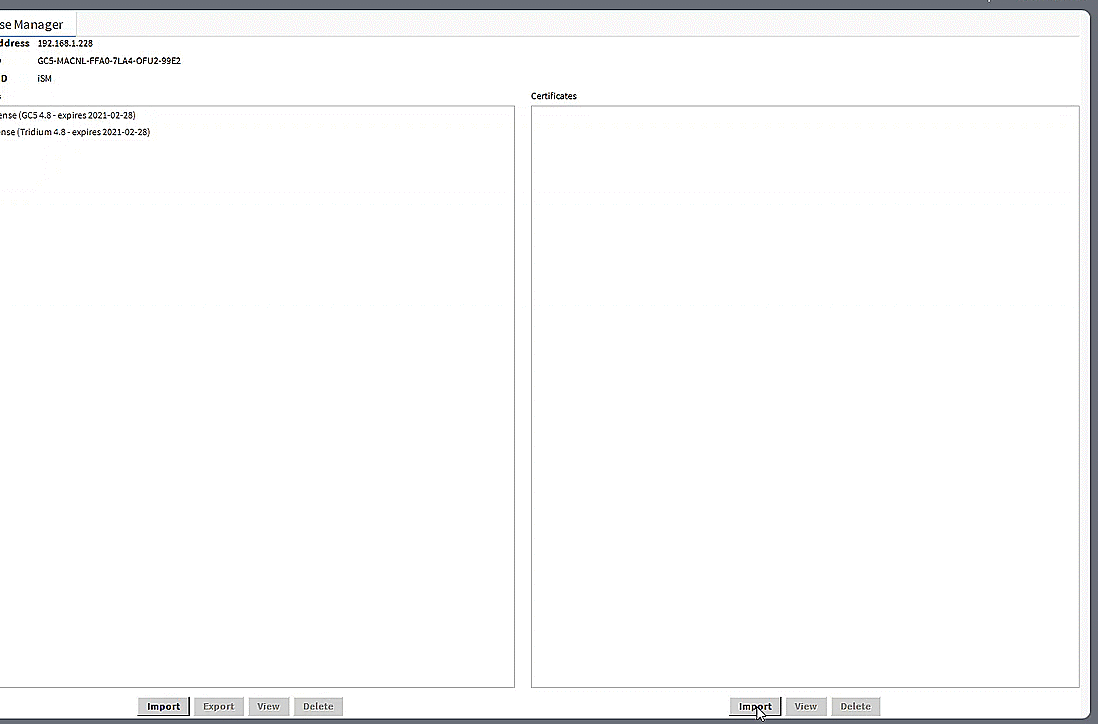
5. Under the ‘Certificates’ window, click the Import button. In the pop-up window, find a location with extracted certificate files, select them, and click OK. The certificates will be uploaded to the device.
Animation 2. Uploading certificate files.