This document describes how to prepare iSMA-B-FCU controller to work with iSMA Tool and how to prepare the device to write your application:
-
Open the FCU Updater software and create a new project in it or open an existing one and then select the 'SOX' option.
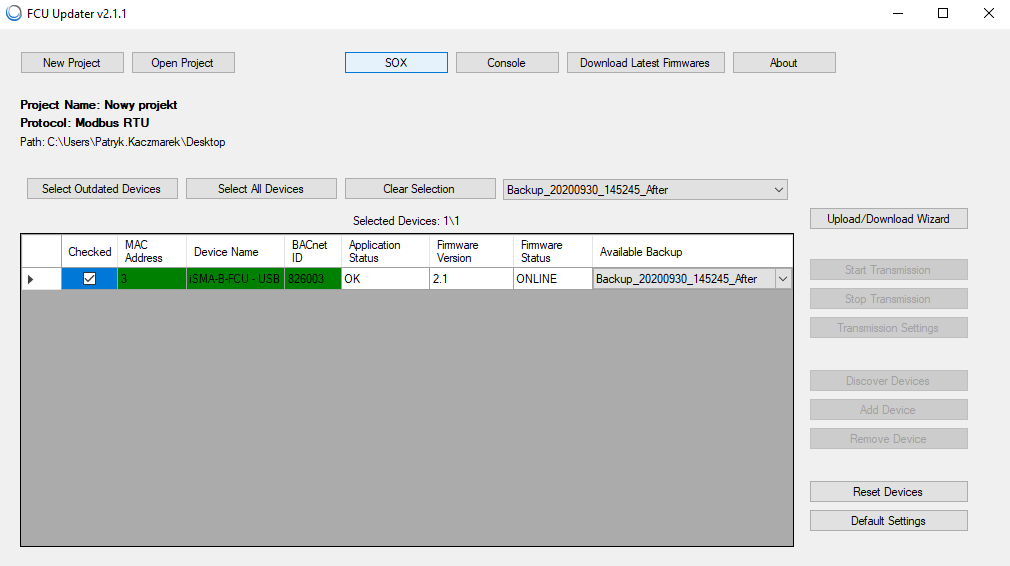
Picture 1. Screenshot showing the opened existing project.
2. After selecting the 'SOX' option, a pop-up window will appear in which you should click on 'Begin Comunication', then the device is ready for connection in iSMA Tool. Creating a project is not required to run the 'SOX' protocol, but it allows for checking the status of iSMA-B-FCU before connecting to the iSMA Tool.
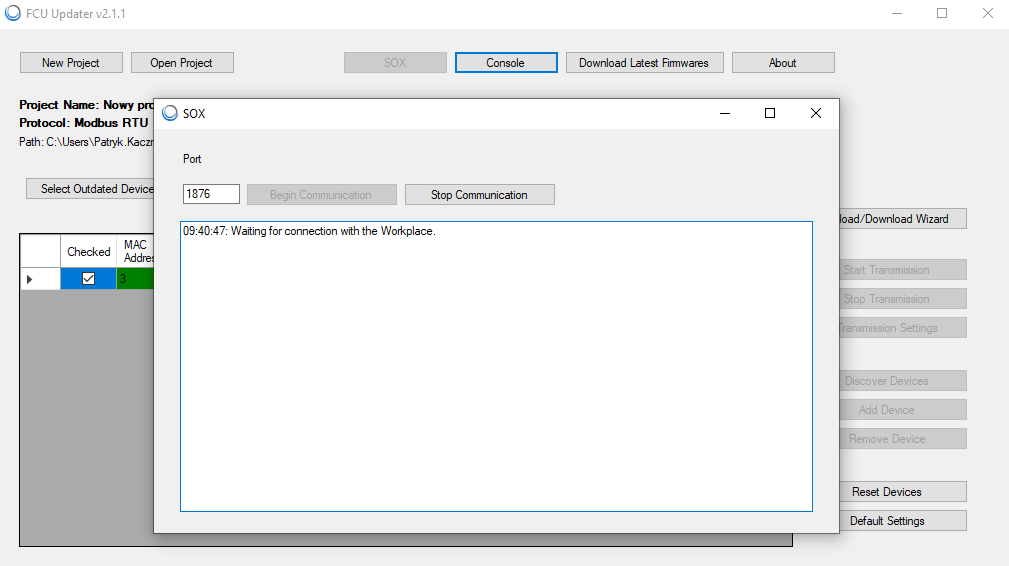
Picture 2. Screenshot showing the start of communication over 'SOX'.
3. After performing the above steps, turn the iSMA Tool on. In the 'Workspace Tree' view, right-click and select 'Add Device'. In the pop-up window, in the 'Host' field, enter the device address, which is 127.0.0.1 or localhost. In the next window, leave the below, default login details:
Username: admin;
Password: leave the field blank.
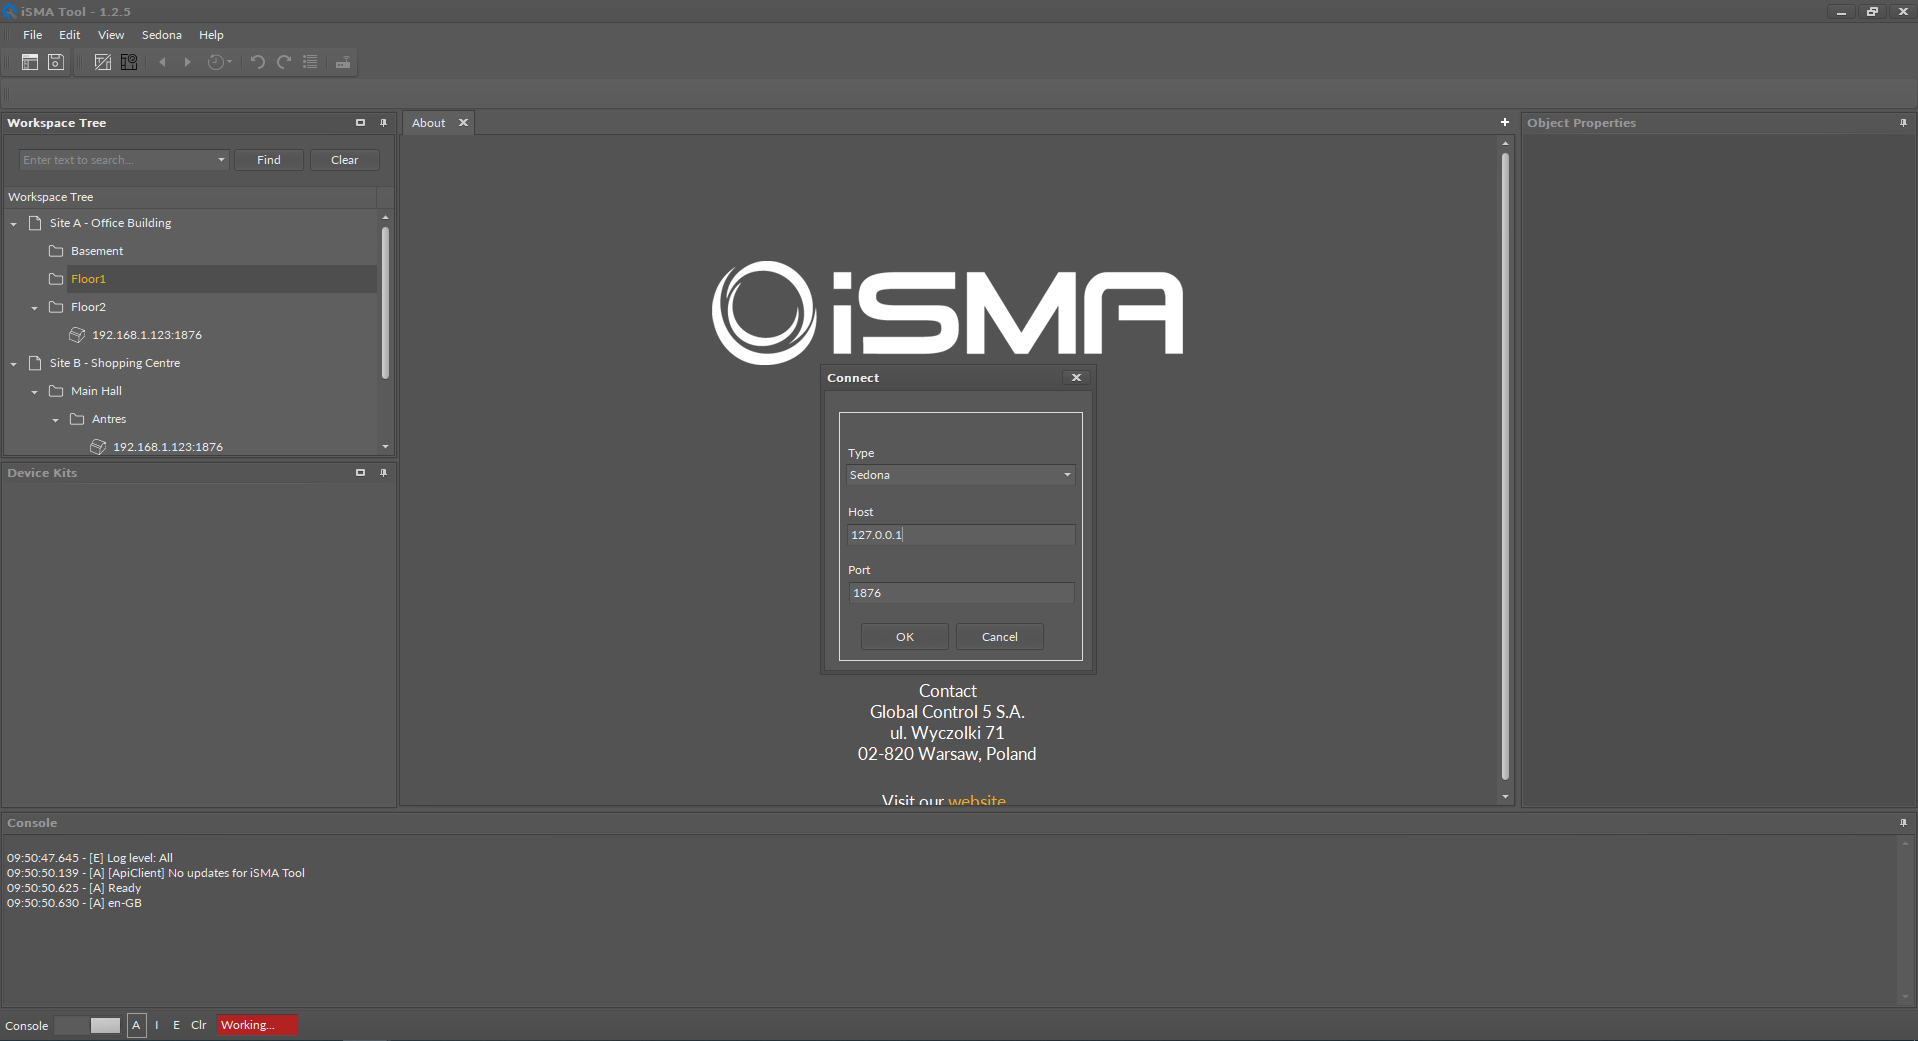
Picture 3. Screenshot showing iSMA-B-FCU connection in iSMA Tool.
4. After logging in, the default iSMA-B-FCU application, adapted to control fan coil units, is visible. To create your own, delete the default application and then start to create your application or edit the existing one.

Picture 4. Screenshot showing iSMA-B-FCU prepared for writing your application.