The article outlines how to appropriately export and import alarms with the BACnet protocol in the Niagara system. Firstly, it is required to correctly configure the BACnet driver, which is not covered in this article. Adding and configuration of alarm extensions is also not covered in this article.
1. Export of Alarms
In the first step, go to the 'Config->Drivers->BacnetNetwork->LocalDevice->ExportTable'. In the main window of the 'Bacnet Export Manager' view, click the 'Discover' button; in the pop-up window, select the 'Alarm Class' value in the 'Of type' drop-down list. Confirm with OK. In the 'Local Objects' section, all alarm classes created in the station appear. Drag&drop classes, which will be used to send alarms.
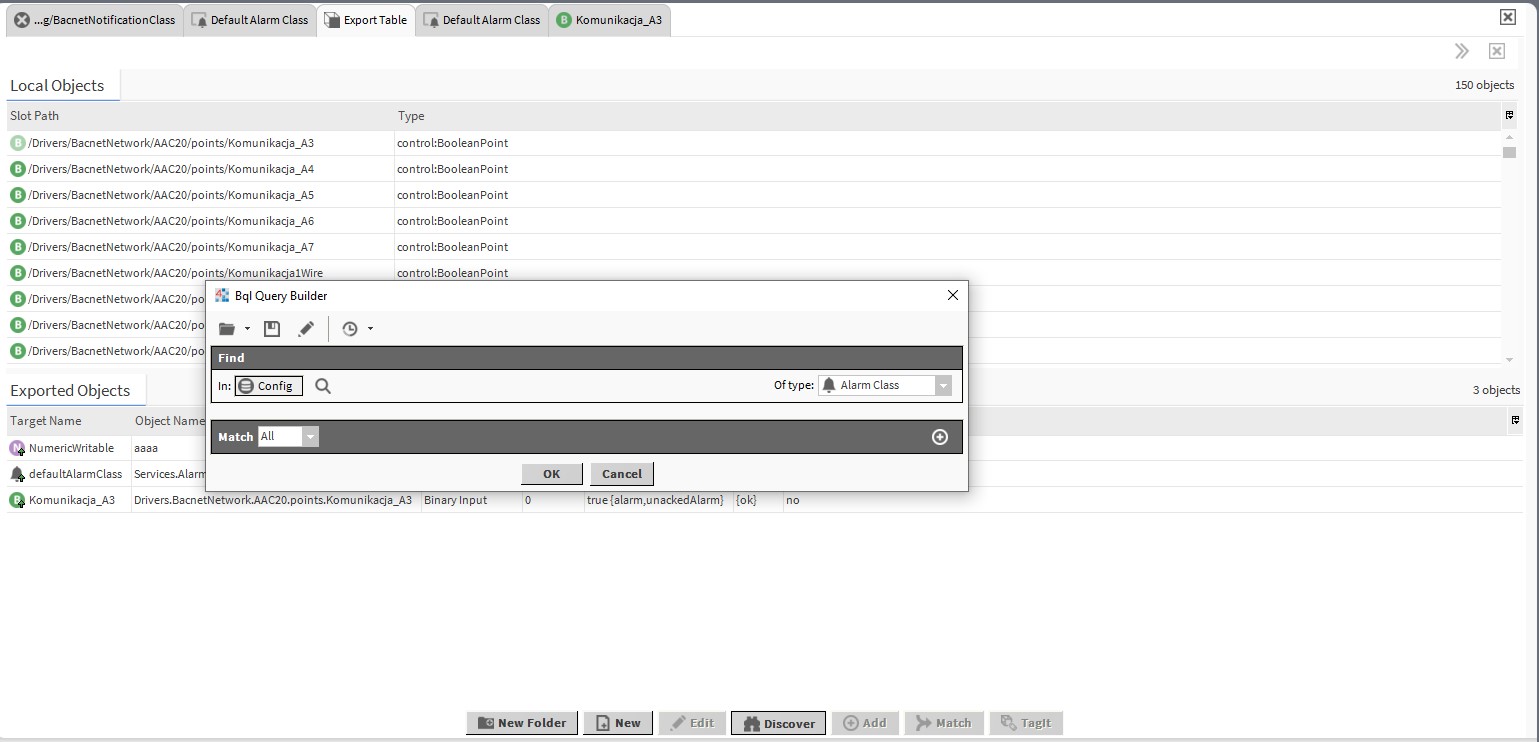
Figure 1. The pop-up window appearing after using the 'Discover' option
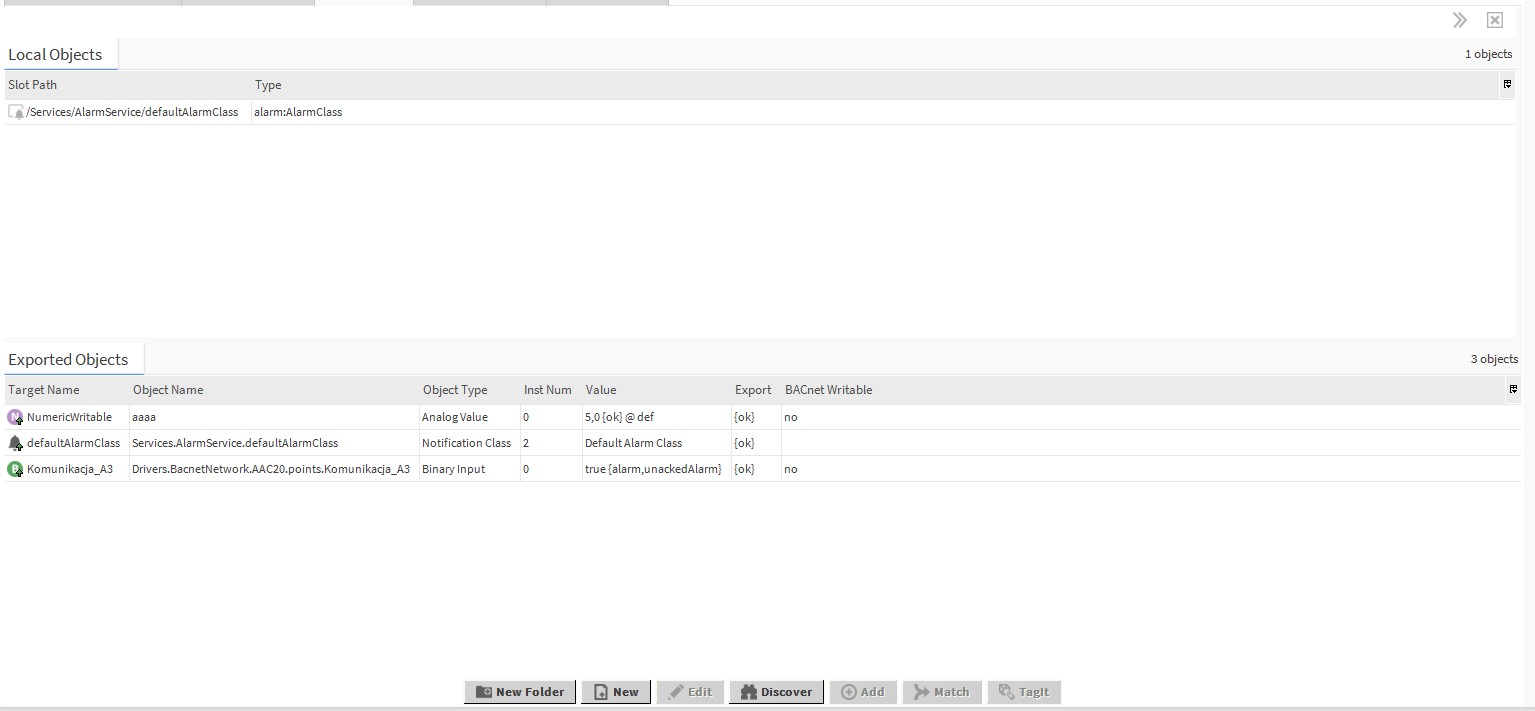
Figure 2. The 'Export Table' view with the alarm class added
The next step is to add points, which will send alarms with the BACnet protocol. Click the 'Discover' option again, select the correct value in the 'Of type' drop-down list, and confirm with OK. All points of the selected type will be found. Drag&drop points, which will send alarms with the BACnet protocol. The points require correctly configured alarm extension, which sends alarms to the alarm class added in the previous step.
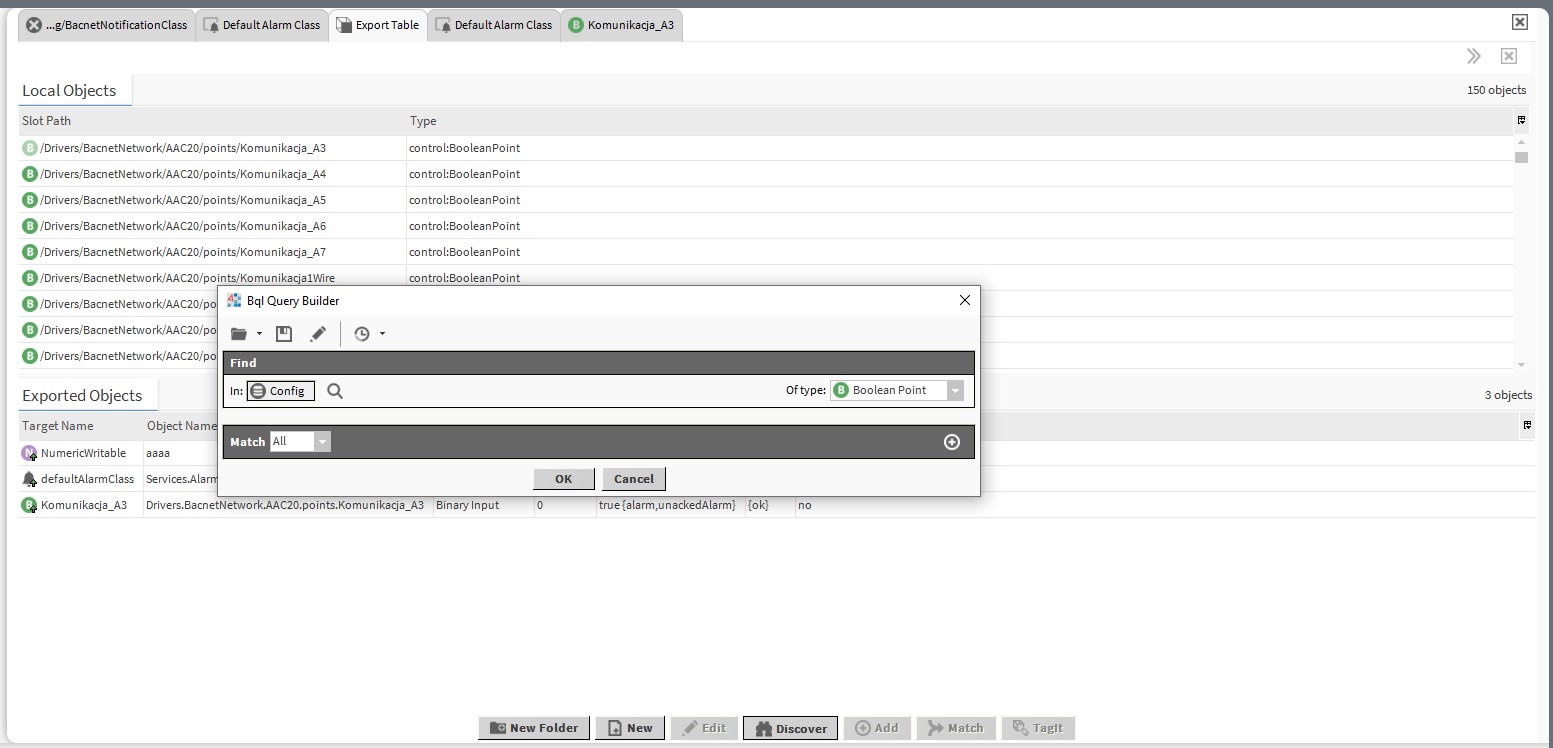
Figure 3. The pop-up window appearing after using the 'Discover' option
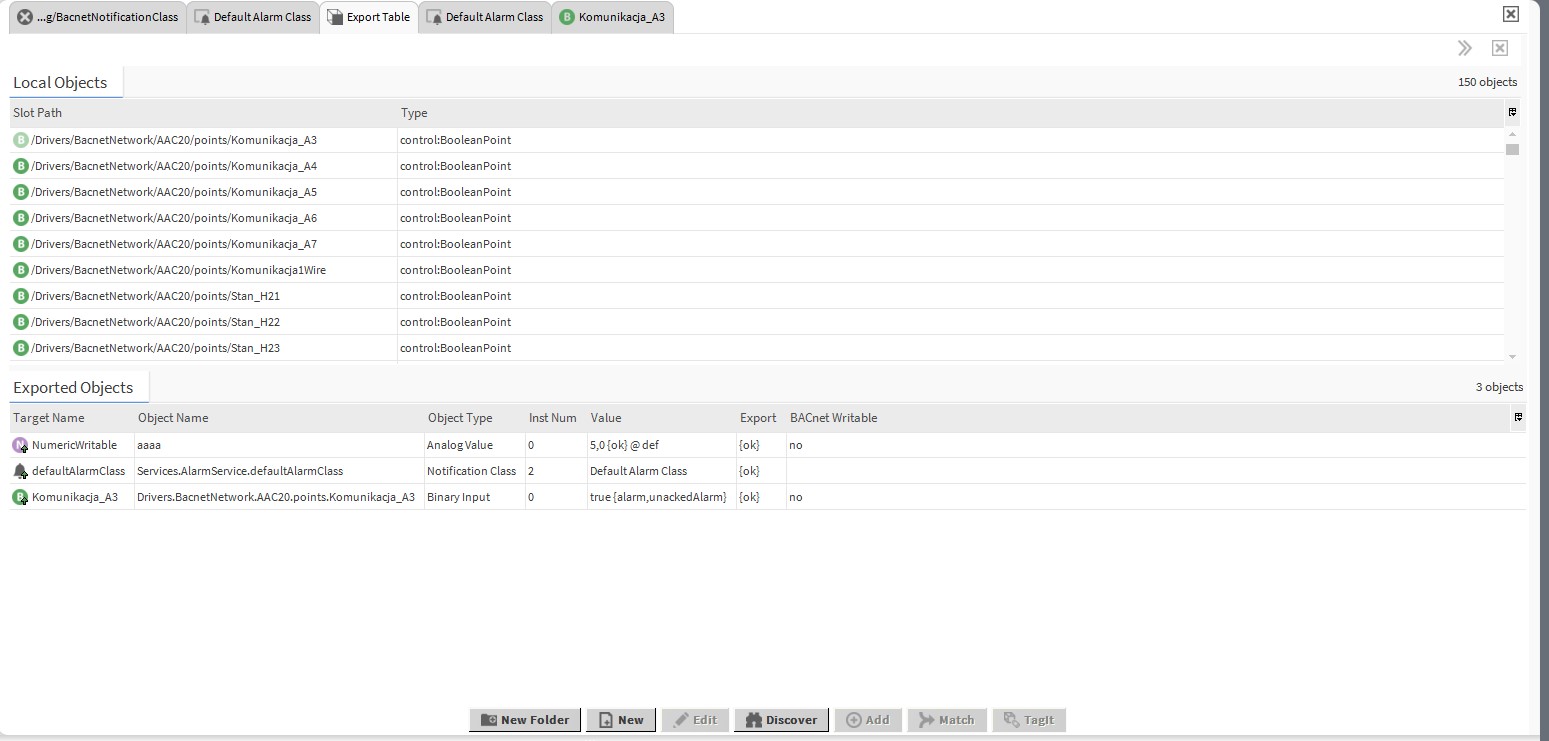
Figure 4. The 'Export Table' with alarm class and BACnet variables added
Further, go to the 'Config->Services→AlarmServices', and open the 'Wire Sheet' default view. In the 'bacnet' palette, in the 'alarming' folder, find the 'BacnetDestination' component, and drag&drop it to the opened Wire Sheet. Then, link the 'Alarm' slot of the 'Alarm Class' component (the class has to be the same as used in the 'Bacnet Export Manager') with the 'RouteAlarm' slot in the 'BacnetDestination' component. Add as many 'BacnetDestination' components as there are devices receiving the BACnet alarms.
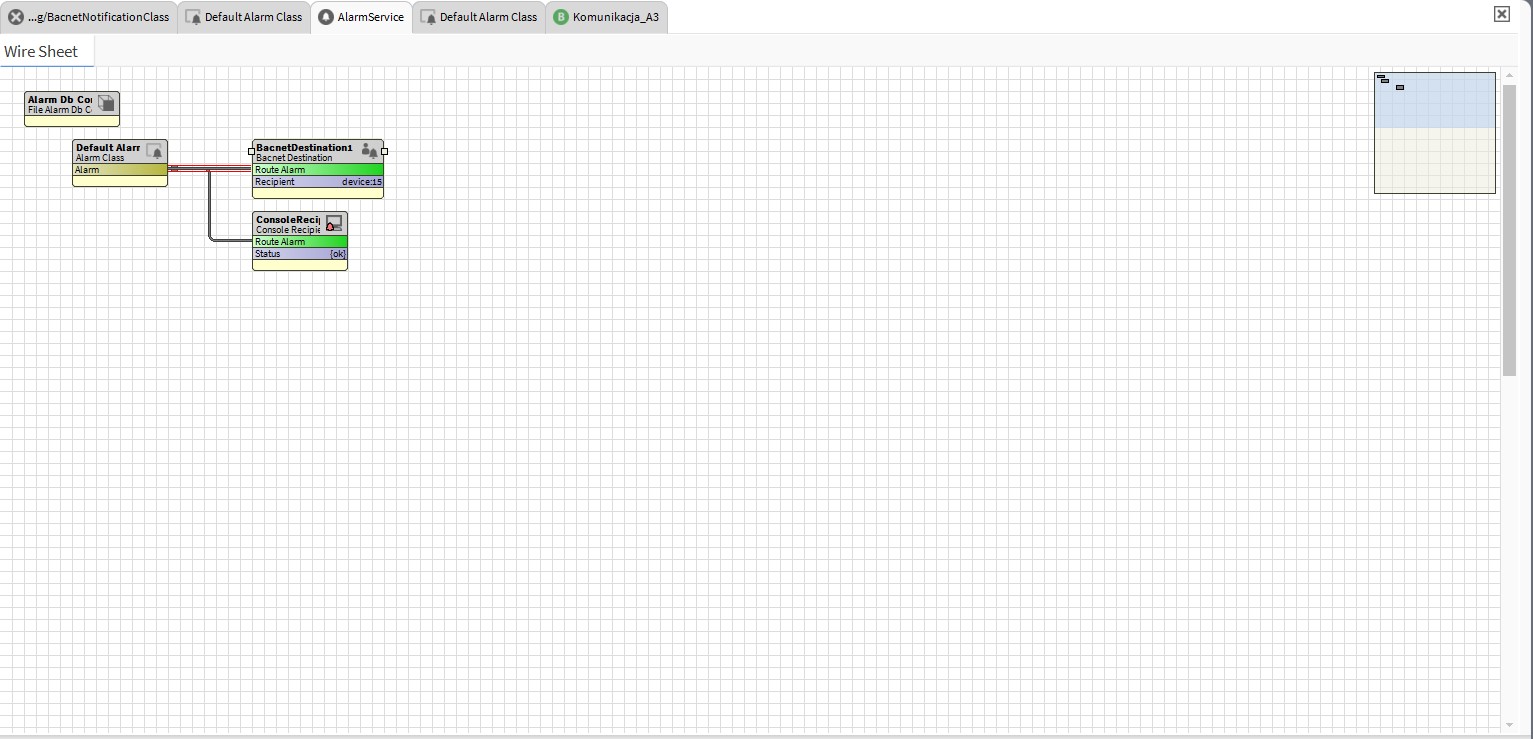
Figure 5. The Wire Sheet view of the 'AlarmService' component with the 'BacnetDestination' component added
Following, go to the 'AX Property Sheet' view of the 'BacnetDestination' component, and set the time, dates, and types of events ('toOffnormal', 'toNormal', 'toFault', 'toAlert'), which will trigger alarms. Then, set the 'Process identifier': in the 'Recipient' slot, click two arrows pointing down, select the 'Device' option, and type the correct 'BACet ID' of the receiving device.
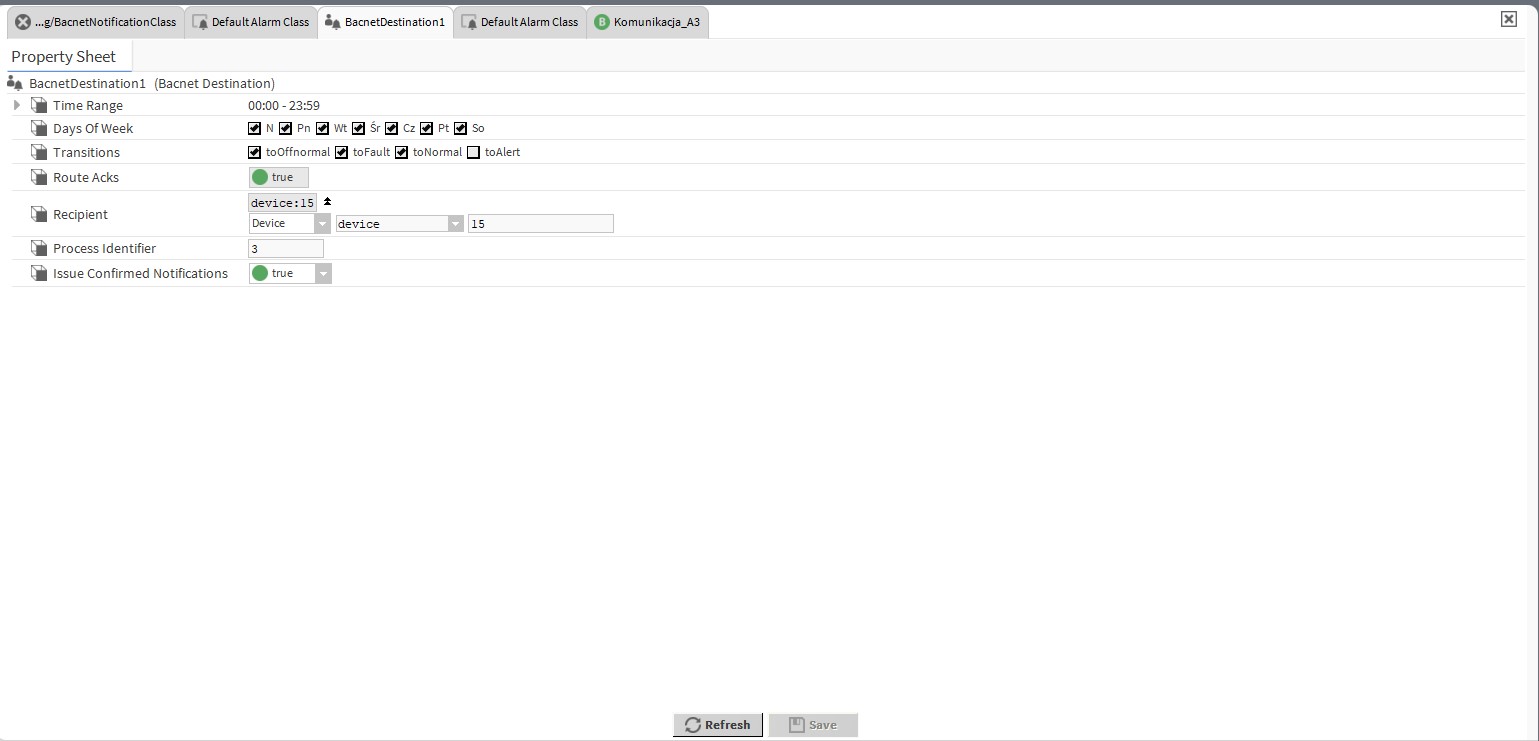
Figure 6. Configuration of the 'BACnet Destination' component
Lastly, it is required to appropriately configure the receiving device to read alarms.
The following section describes how to configure the Niagara station in order to receive alarms with the BACnet protocol.
2. Import of Alarms
In order to import alarms, go to the 'Config->Drivers->BacnetNetwork->Device_Name→Alarms', select the alarm class to receive alarms, and type the same 'Niagara Process ID' as given in the 'Process identifier' in the sending device.
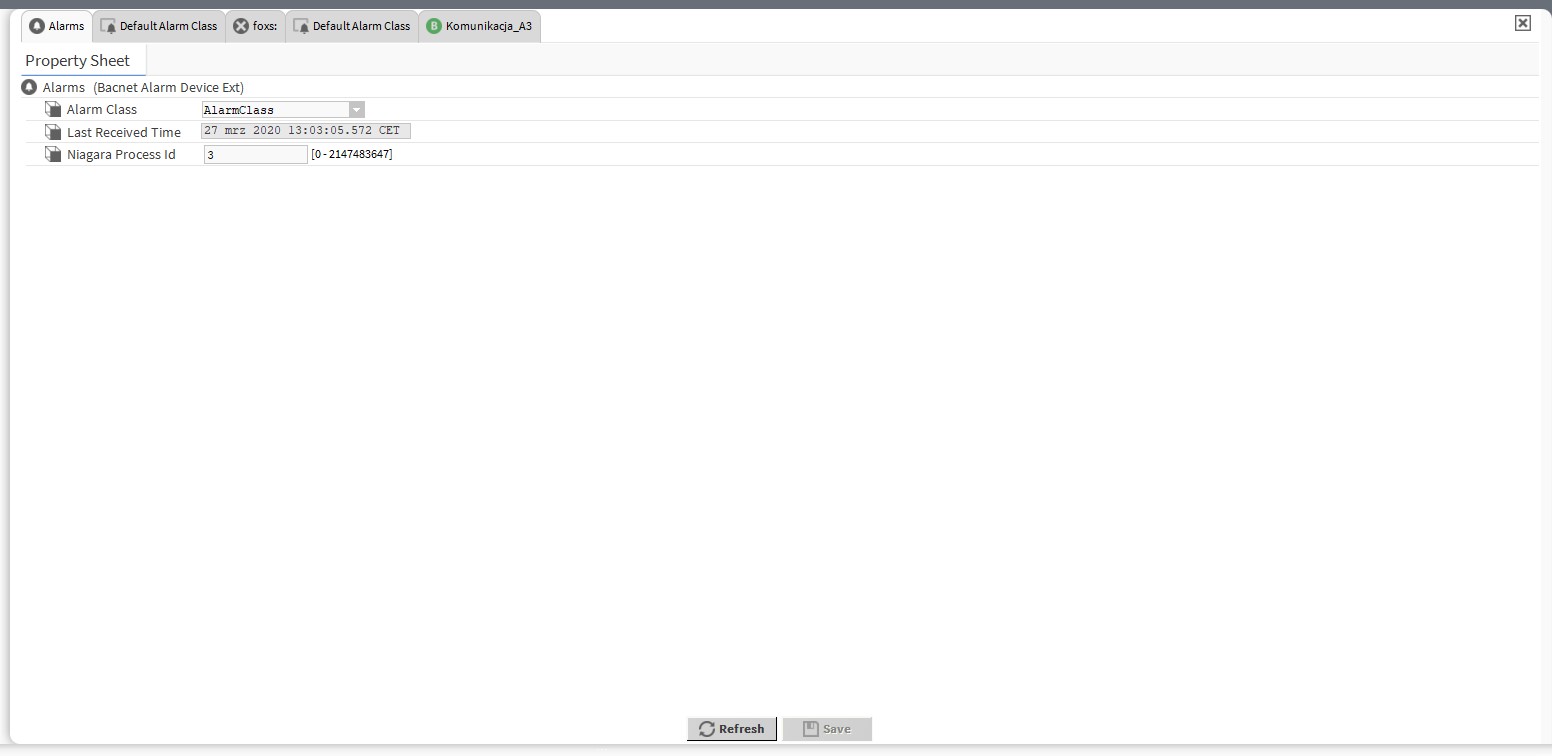
Figure7. Configuration of the 'Alarms' component
*"Process Identifier" - Defines the number of process on the receivers list for the given 'Notification Class' object. The number is significant only for the device receiving the alarms, and it is required to be the same as the identifier in the 'alarms' class of the receiving device.
