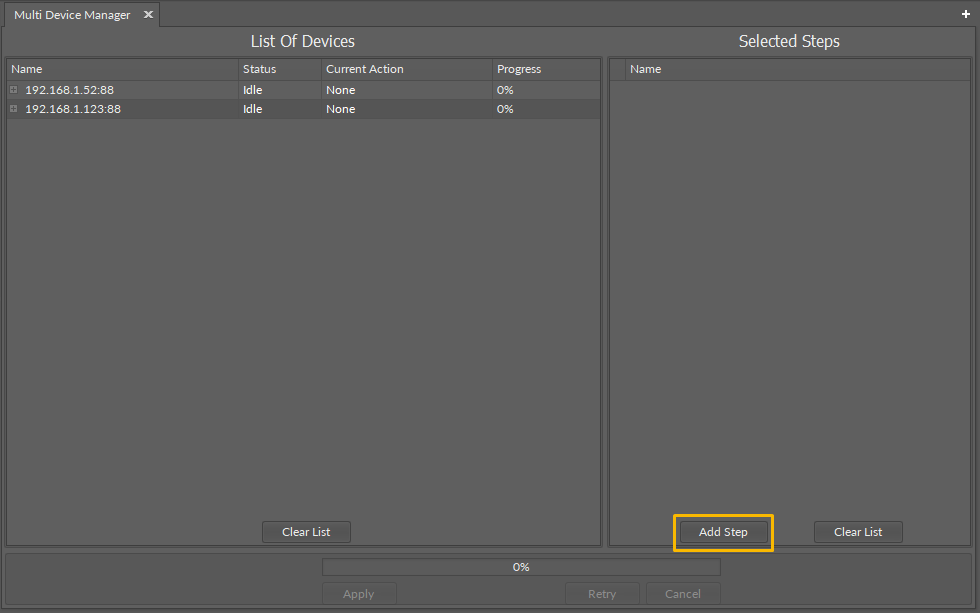
The Multi Device Manager allows to perform certain actions on more than one controller at a time. The actions available in the Multi Device Manager include:
-
performing, download, and restoring backup,
-
managing OS and libraries,
-
setting local time,
-
changing admin password, and
-
restarting devices.
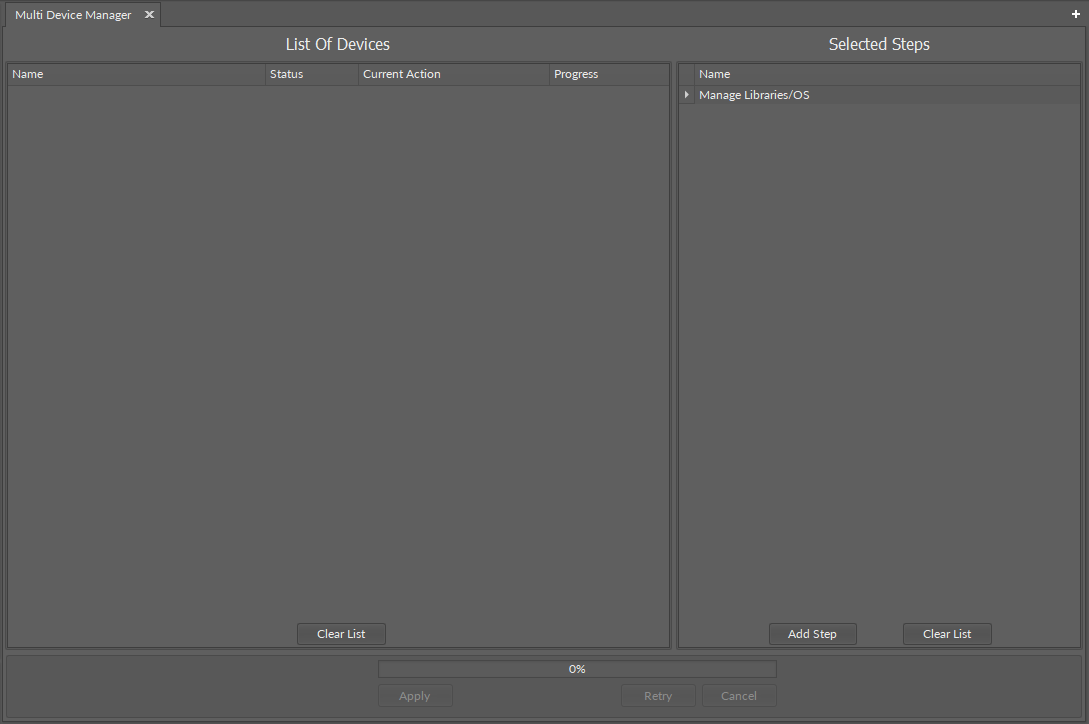
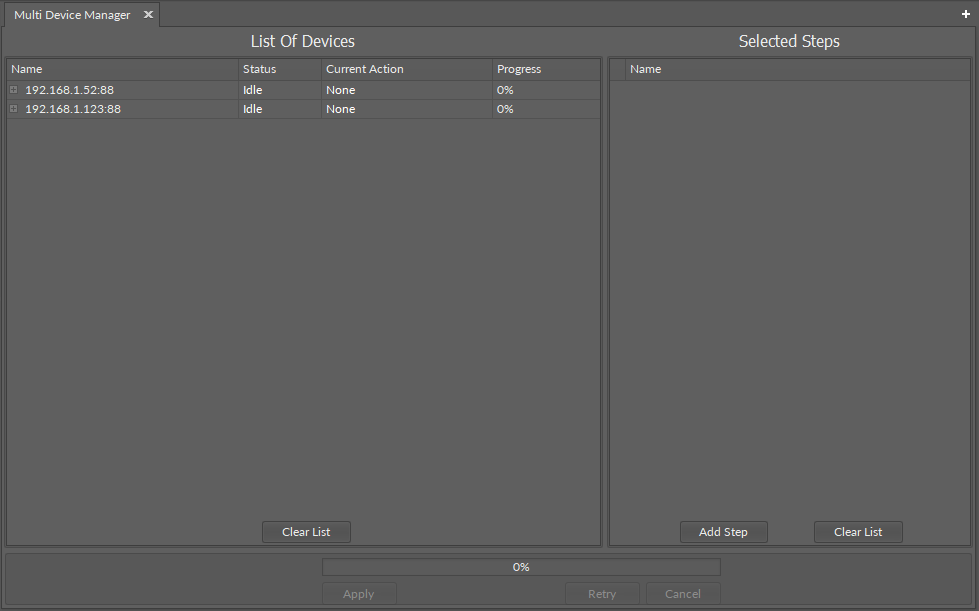
The view is structured in two parts:
-
List of Devices: allows to add devices to manage, shows status information (process succeeded/failed, etc.);
-
Selected Steps: allows to choose and configure action to perform on all devices included in the List of Devices section.
Accessing the Multi Device Manager
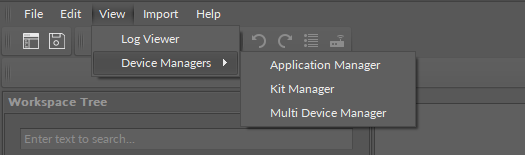
There are three ways to access the Multi Device Manager view:
-
in the main menu:
-
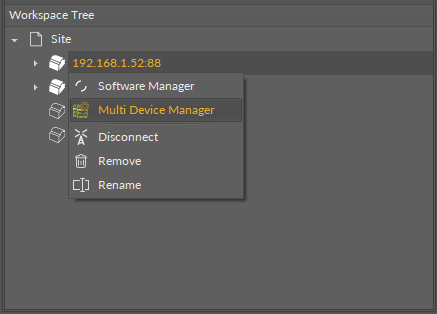
in the context menu of the device in the Workspace Tree:
-
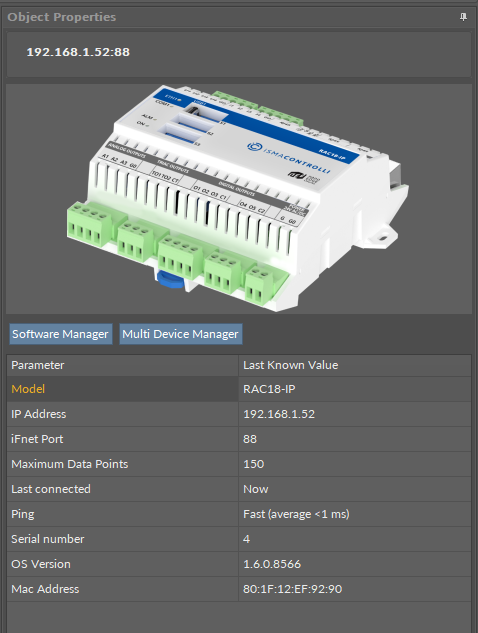
from the Object Properties window (dedicated button):
Using the Multi Device Manager
Adding Devices
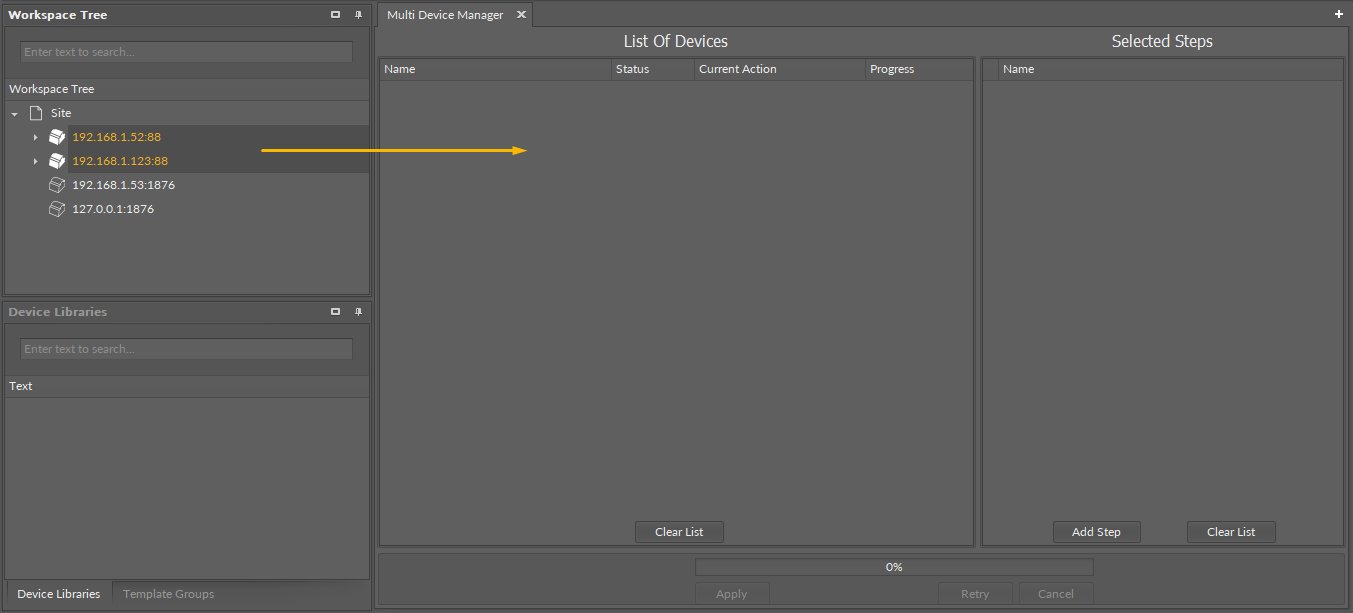
To add devices to the List of Devices in the Multi Device Manager, select the relevant devices in the Workspace Tree and drag-and-drop them on the List of Devices:
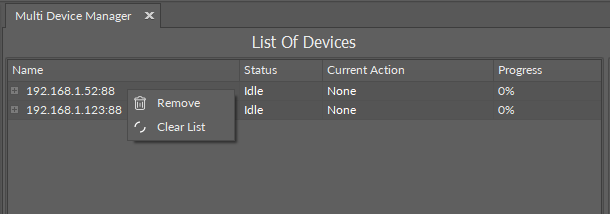
Devices added in the List of Devices have a context menu with the following options:
-
Remove: removes a single device from the list,
-
Clear List: removes all devices added to the list.
Performing Actions
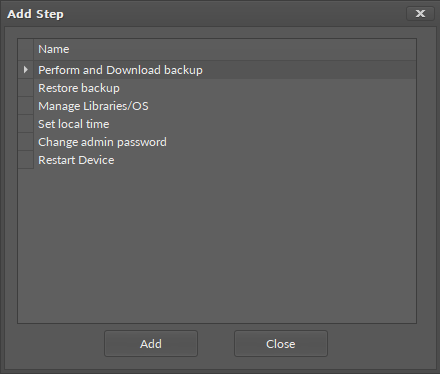
To select and configure action to perform on the selected devices, go to the Selected Steps window. Under the Add Step button, there is a list of action available to perform.
Available action include:
-
Perform and Download Backup: creates backup file and saves it in the selected location on the PC,
-
Restore backup: restores backup from a location on the PC or from device,
-
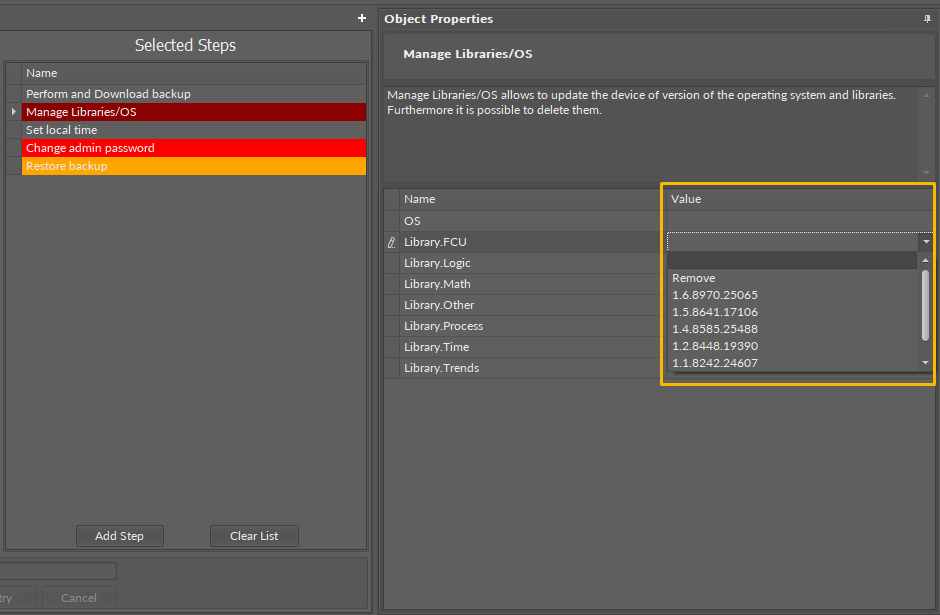
Manage Libraries/OS: allows to upgrade or downgrade OS and libraries installed on the device and delete a library from the device,
-
Set local time: automatically sets local time on the device,
-
Change admin password: changes admin password on all devices,
Note
Please remember that the password needs to fulfill the following requirements;
-
include both lower and upper case characters,
-
include at least one number and symbol,
-
be at least 8 characters long,
-
cannot contain spaces.
-
Restart Device: restarts all devices (devices need to be reconnected manually in the iC Tool).
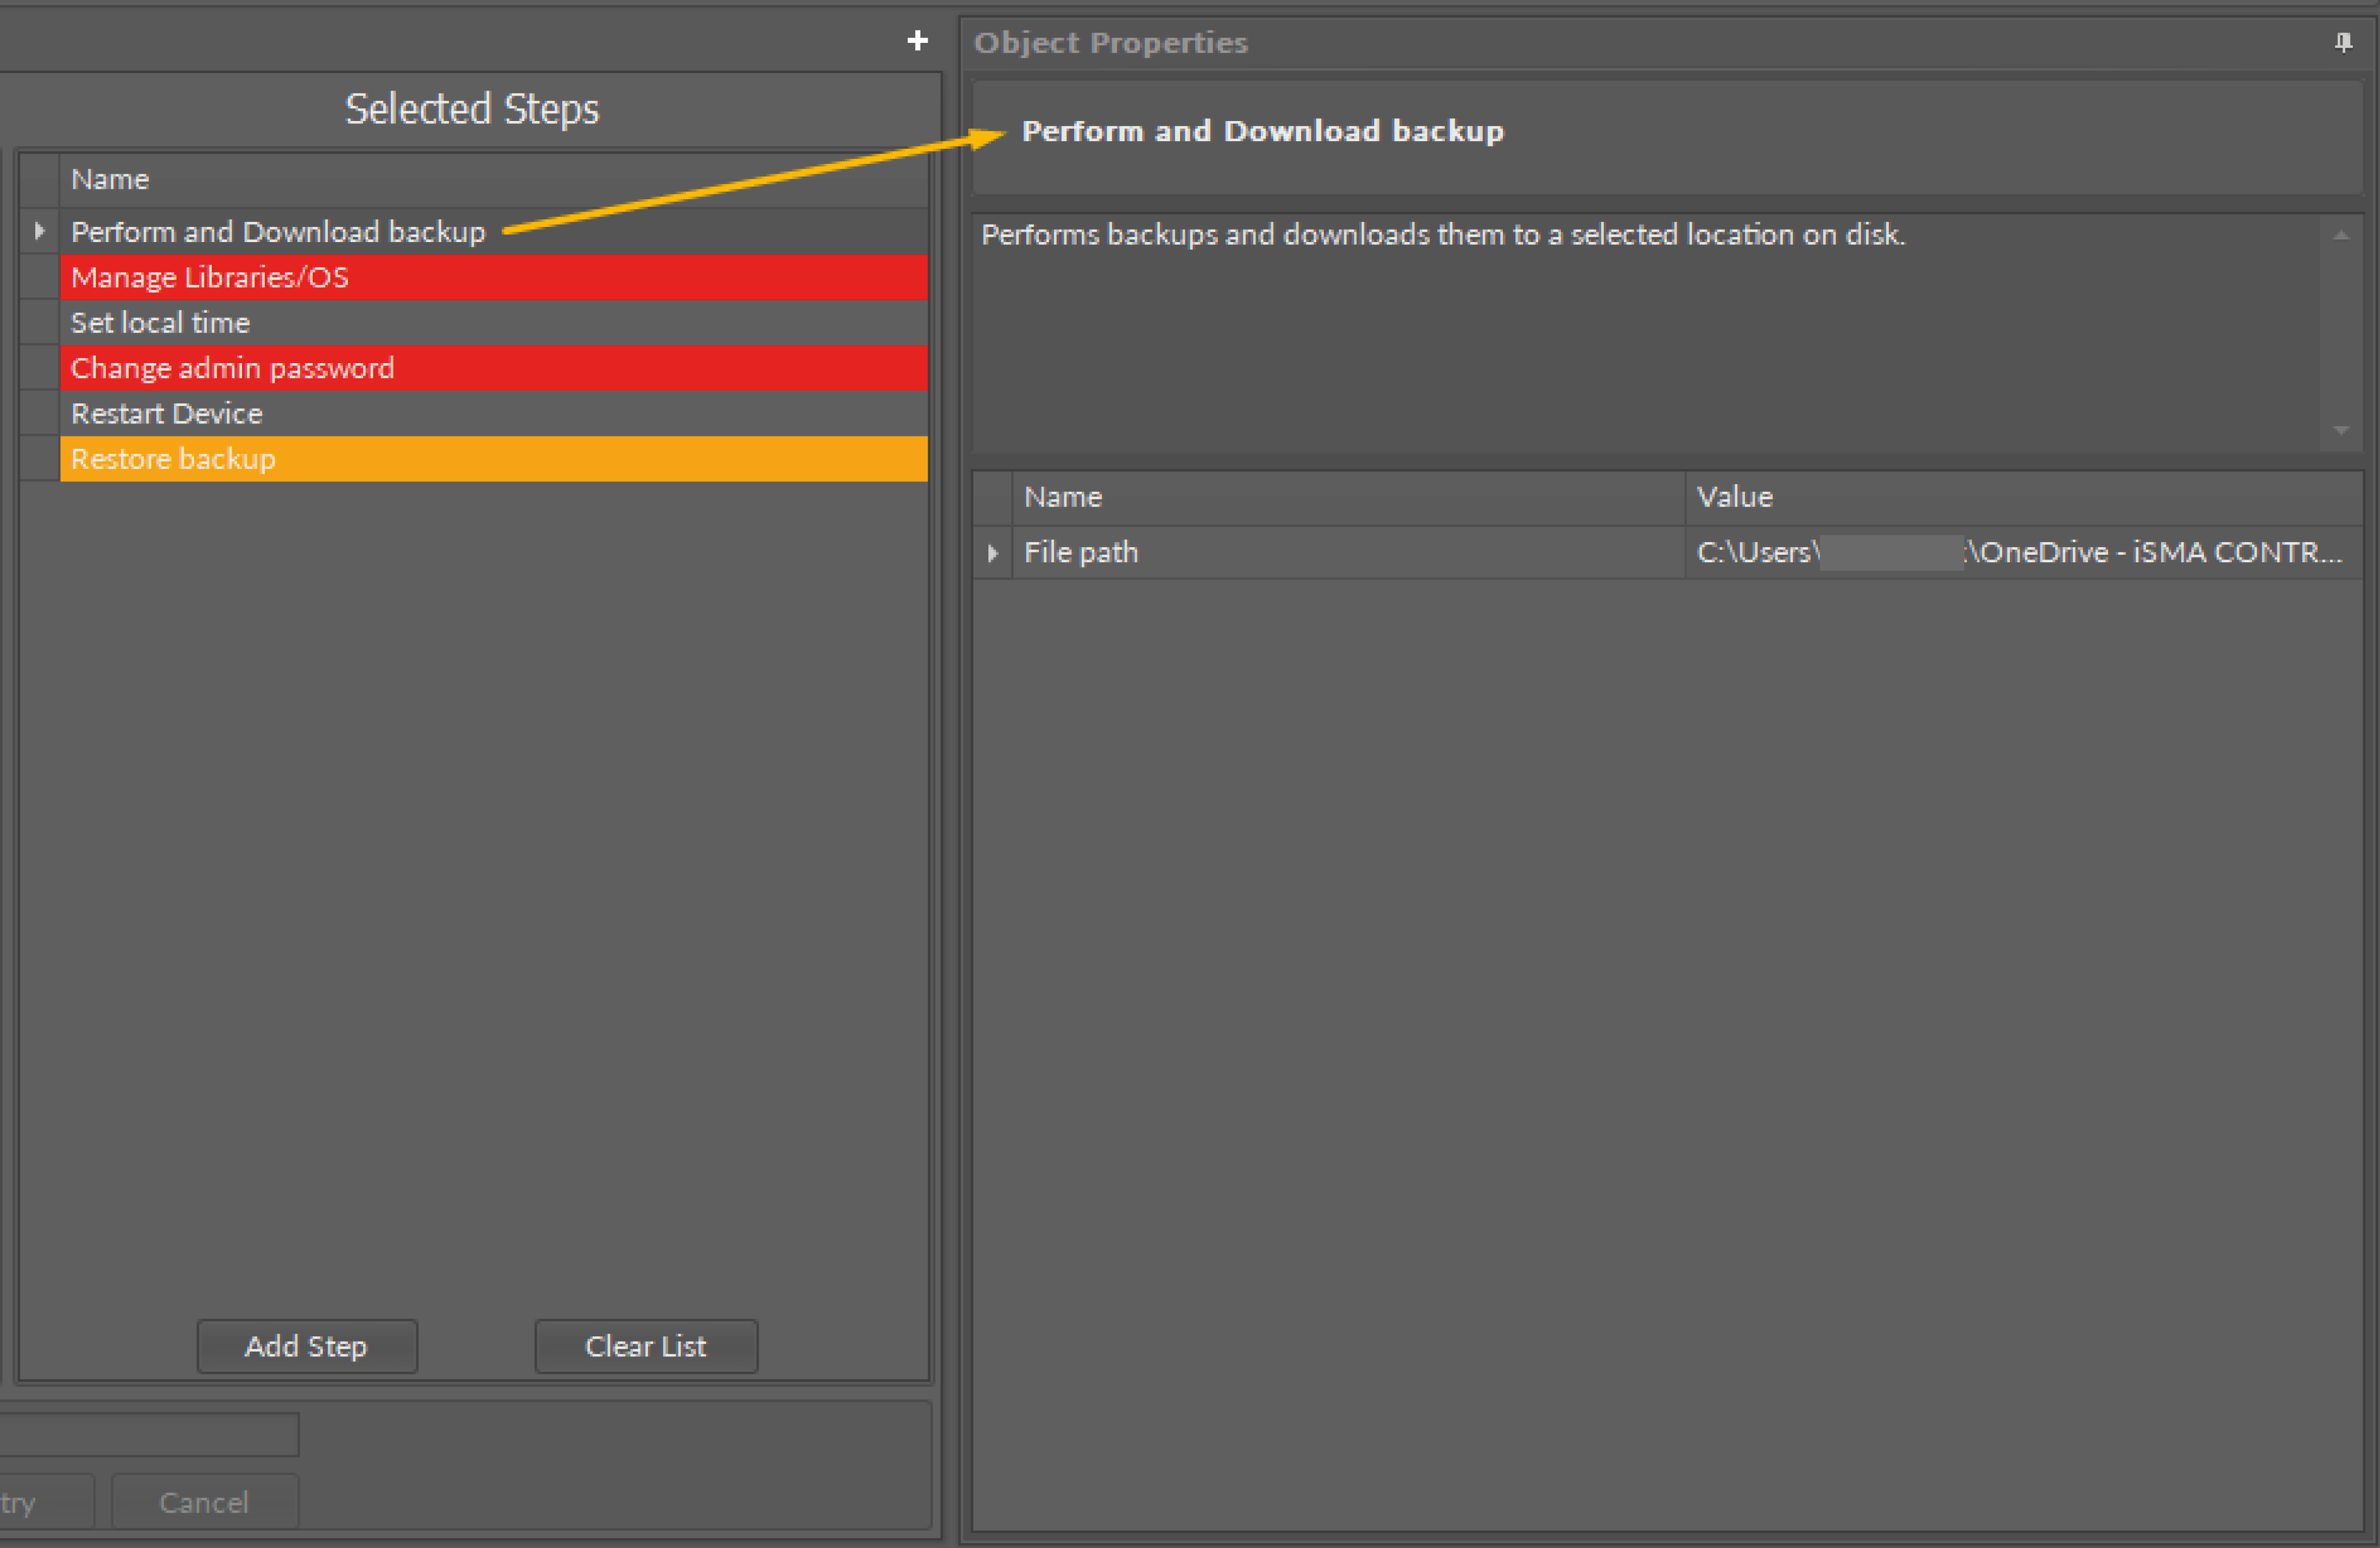
When an action is added to the Selected Steps window, addition information and configuration options are available in the Object Properties window:
Selected Steps View
Validation colors
Colors marked on the Selected Steps list inform if the action needs further configuration to be performed:
-
red: further configuration is required to carry out the action,
-
yellow: further configuration is optional to carry out the action; if left as is, the action will be complete with a default configuration.
Reordering
As the actions are performed in a sequence as listed, it is possible to reorder them by a drag-and-drop method.
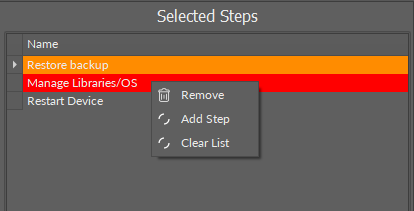
Context menu
-
Remove: removes a single action from the list,
-
Add step: opens a dialog window to add steps to the list,
-
Clear list: removes all actions from the list.
Configuration of Actions
For each action, there are the following configuration options:
-
Perform and Download Backup: possibility to set a location for saving a backup file; by default, the backup will be downloaded to the iC Tool directory,
-
Restore backup: allows to select a specific backup file to restore; if left as is, the last backup will be restored,
-
Manage Libraries/OS: allows to select an OS version to upgrade or downgrade; for libraries, allows to select a version to upgrade or downgrade or select a library to be removed,
-
Set local time: no further configuration possible,
-
Change admin password: allows to enter a new password,
-
Restart Device: no further configuration possible.
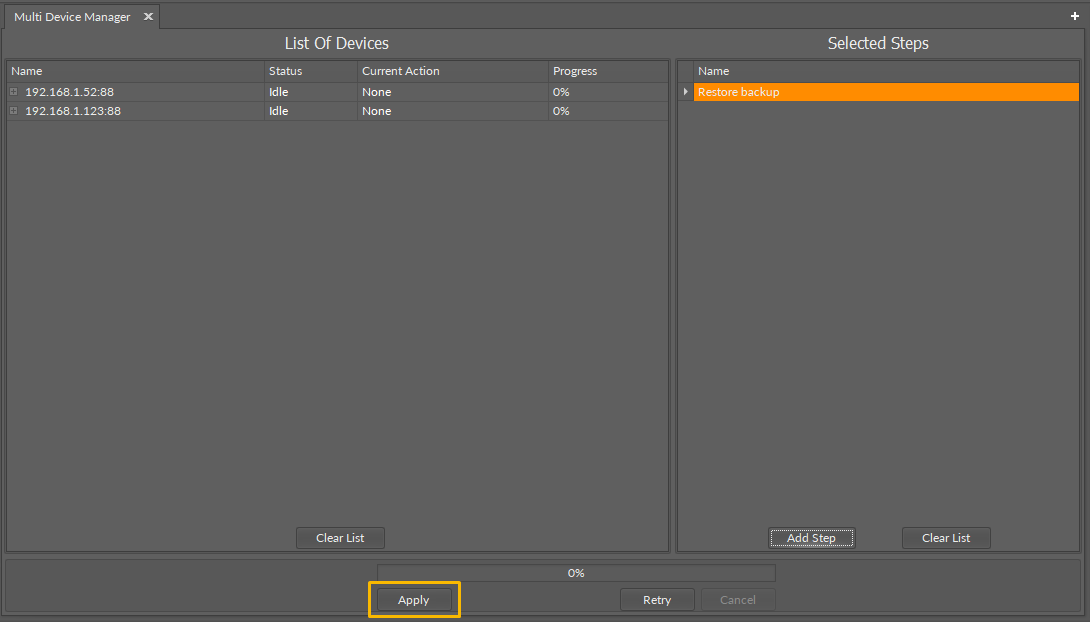
Once all required steps are selected and configured, press the Apply button:
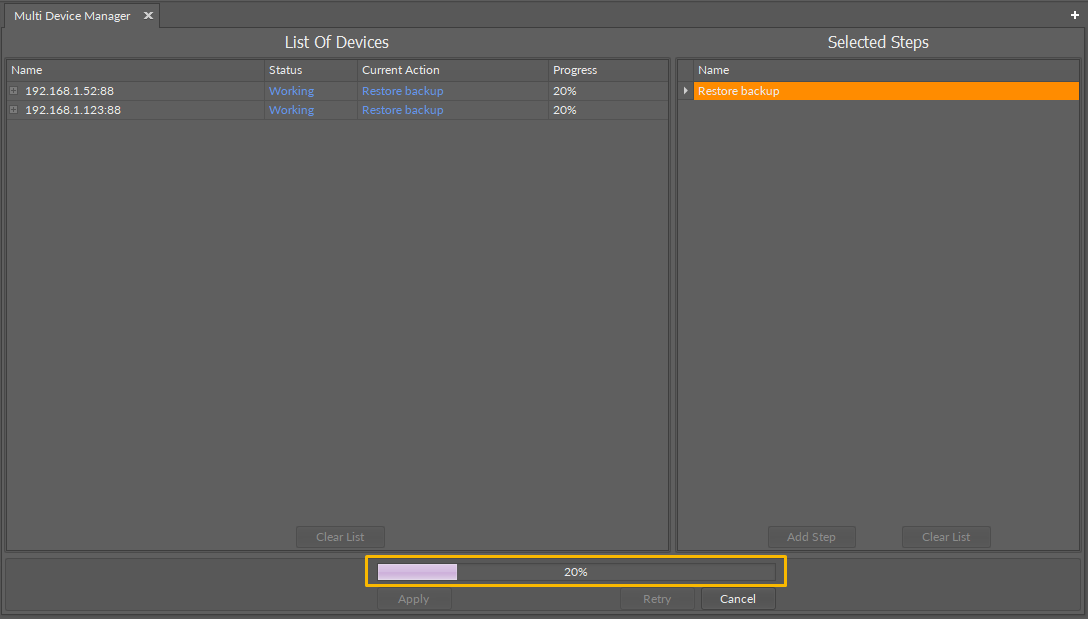
The performance progress is indicated on a progress bar:
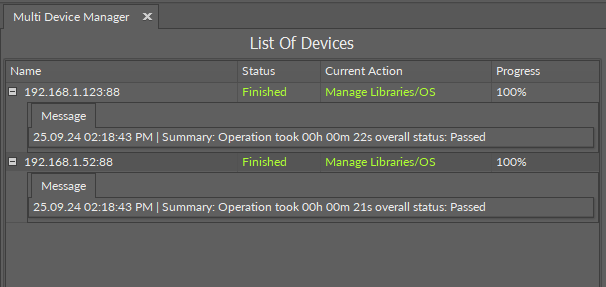
Completed actions are marked on the list:

Pressing a plus mark on the left of the device’s IP address expands a list of messages summarizing the process: