Adding Station
Correct operation of web views in iC SmartView requires pre-configuration of the Ethernet port or WiFi network in the Android device settings. To configure the IP settings, select the Network & Internet option in the device settings.
When the application is first launched, the main screen, except for quick-start, does not contain any added visualization, or controller. When the application is launched, the home screen is displayed, allowing to add one or more Niagara stations, or other web services. To add a new view, tap the Add View button:
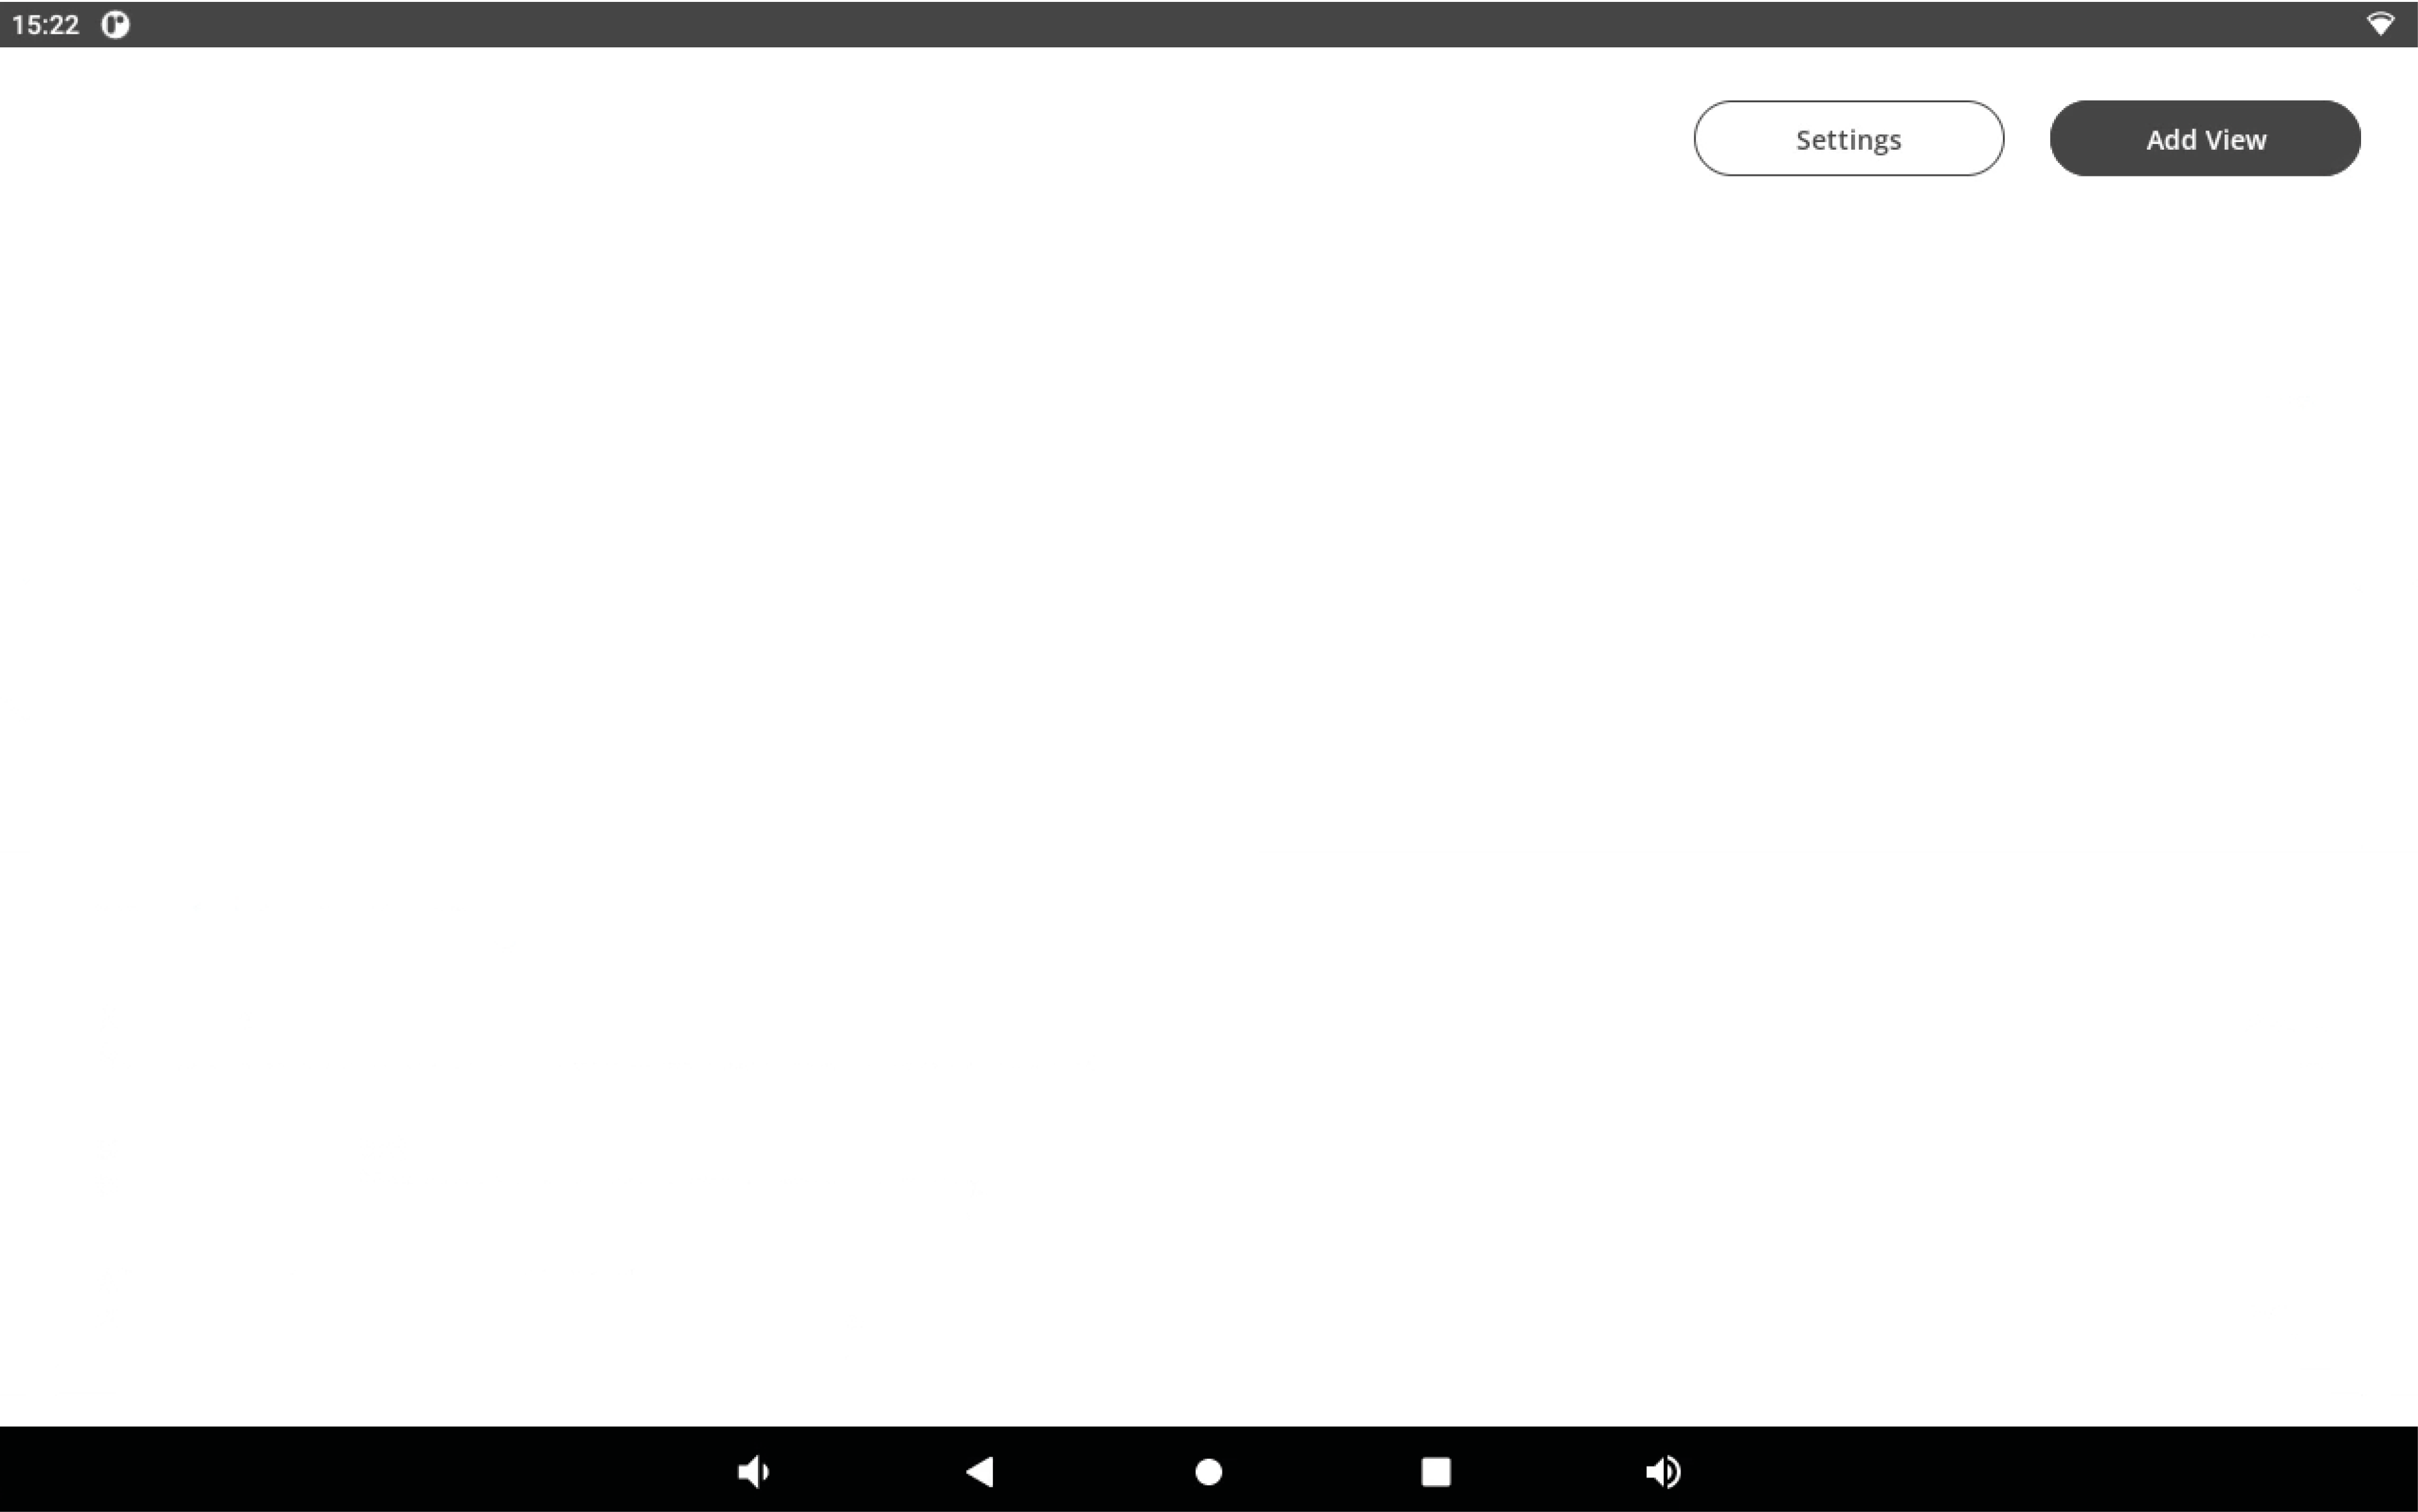
Main screen
Click on the below link to see the Add View video:
Enter credentials:
-
panel name;
-
panel url
and save them. Then, select a tile background file or color (from a palette or entering a hex number).
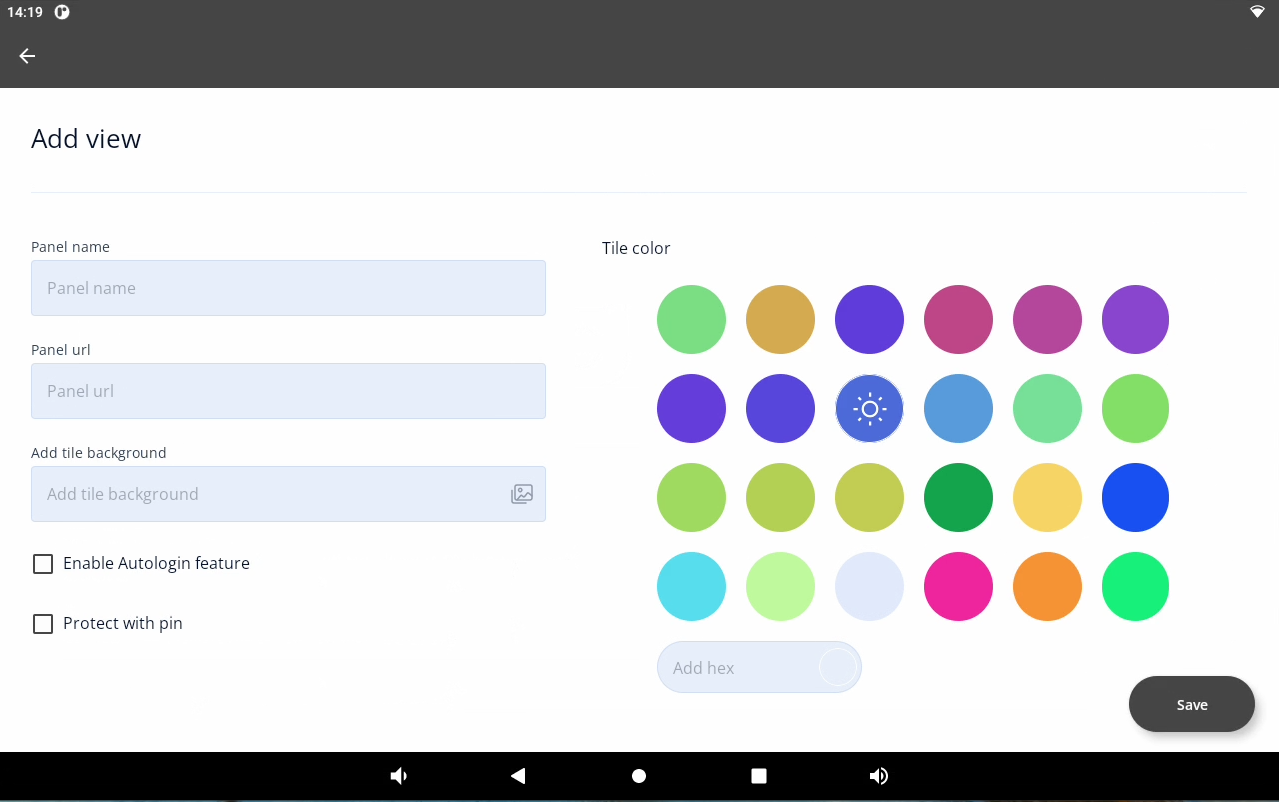
Credentials
Logging into the station is available with two options to check:
-
Enable Autologin feature, and
-
Protect with pin.
Autologin
Checking the Enable Autologin feature extends the username and password fields. Saved, the credentials are remembered, and the station is automatically logged from the panel. If the option remains unchecked, logging in is redirected to an external login website (Niagara or other).
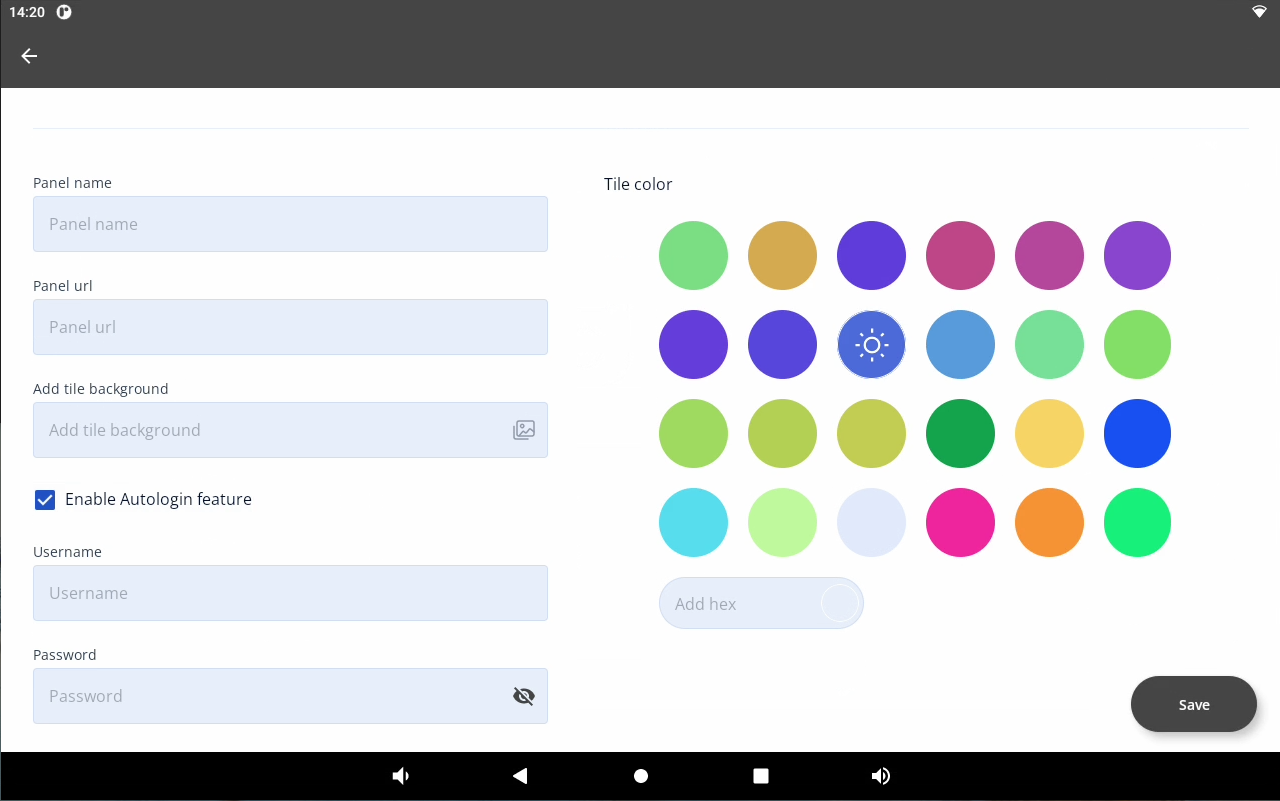
Autologin credentials
Note: In case auto-logging has been enabled and the connection to the web service does not work properly, it is recommended to leave the option unchecked, which redirects to the web service login page and allows logging in there. Note that the iC SmartView application supports logging into HTML5-based devices.
Note: If case of issues while opening the login page, please add the “/login.html” or “/prelogin” or any other known part at the end of the web service’s url, that leads directly to the user login page.
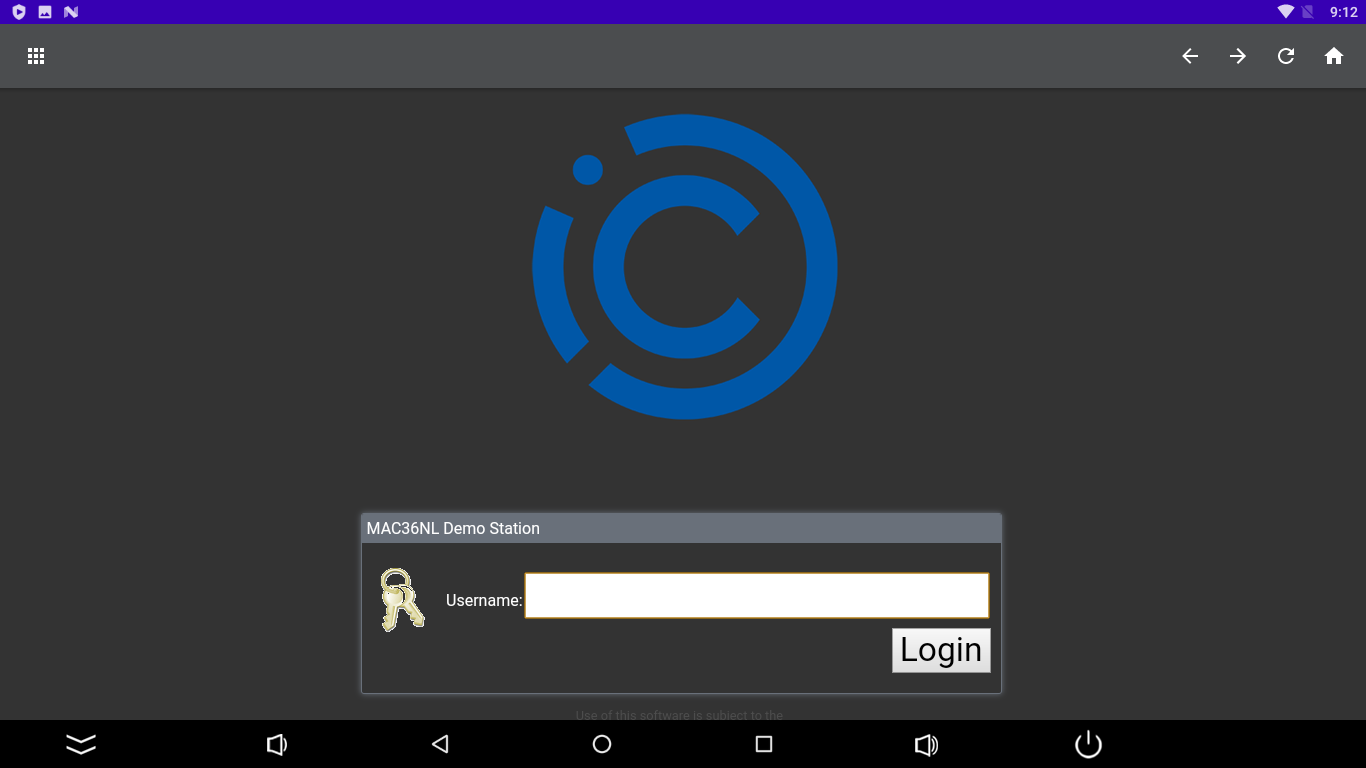
Niagara login website enabling logging into any controller with HTML5 graphics
Note: To enable a proper functioning of autologin, please remember to add a port number after a panel's IP address:
-
:443 for https connection;
-
:80 for http connection,
For example: https://168.192.1.1:443.
Note: Selecting the autologin feature is available from the iSMA Android Application 4.0.
PIN Protection
Checking the Protect with pin option enables the selected tile to require entering a pin number when attempting to open it.
Note: If the PIN lock timeout option in settings is enabled, then the PIN will be required also after a set time of inactivity in the Kiosk mode. Go to the Kiosk mode settings for more information about entering the Kiosk mode and setting the pin lock timeout.
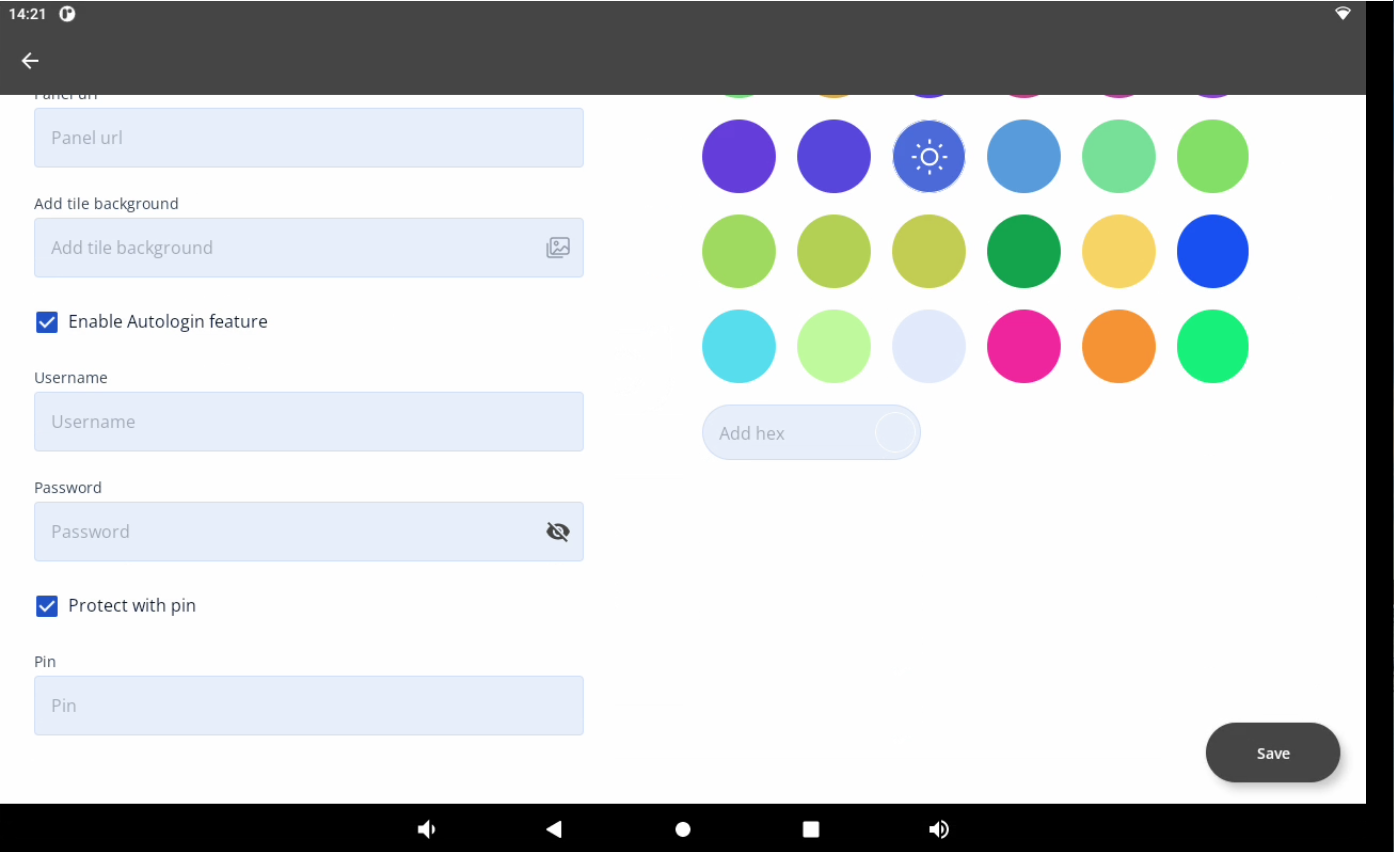
Protect with pin option
After successful logging in, the application goes back to the main screen with a list of added stations.
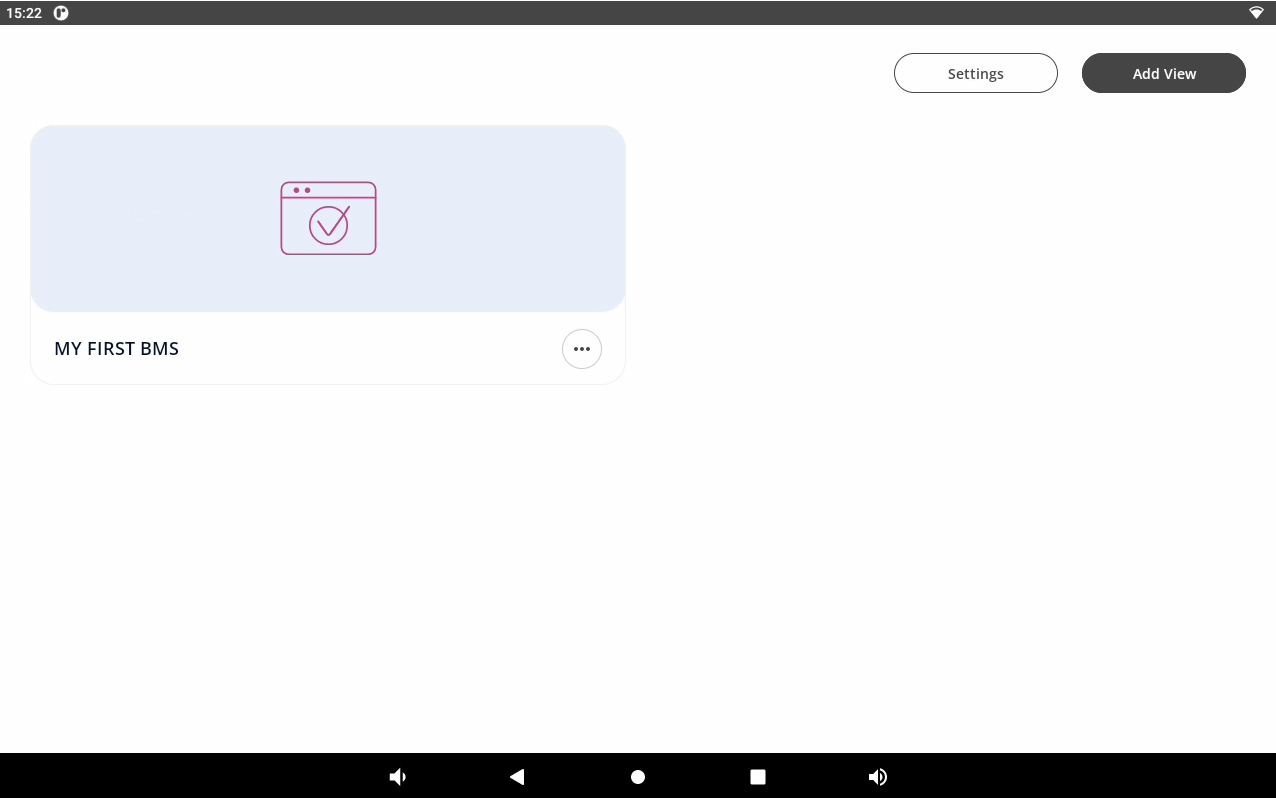
Main screen with an added station
Station Menu
The three-dots button in the bottom right corner of the tile extends the tile menu:
-
Edit: edits the tile connection credentials;
-
Delete: deletes the tile;
-
Home station: can be chosen only for one tile only; the chosen tile will be automatically logged in after restarting or turning on the panel (Disable home station option appears once for the selected home station).
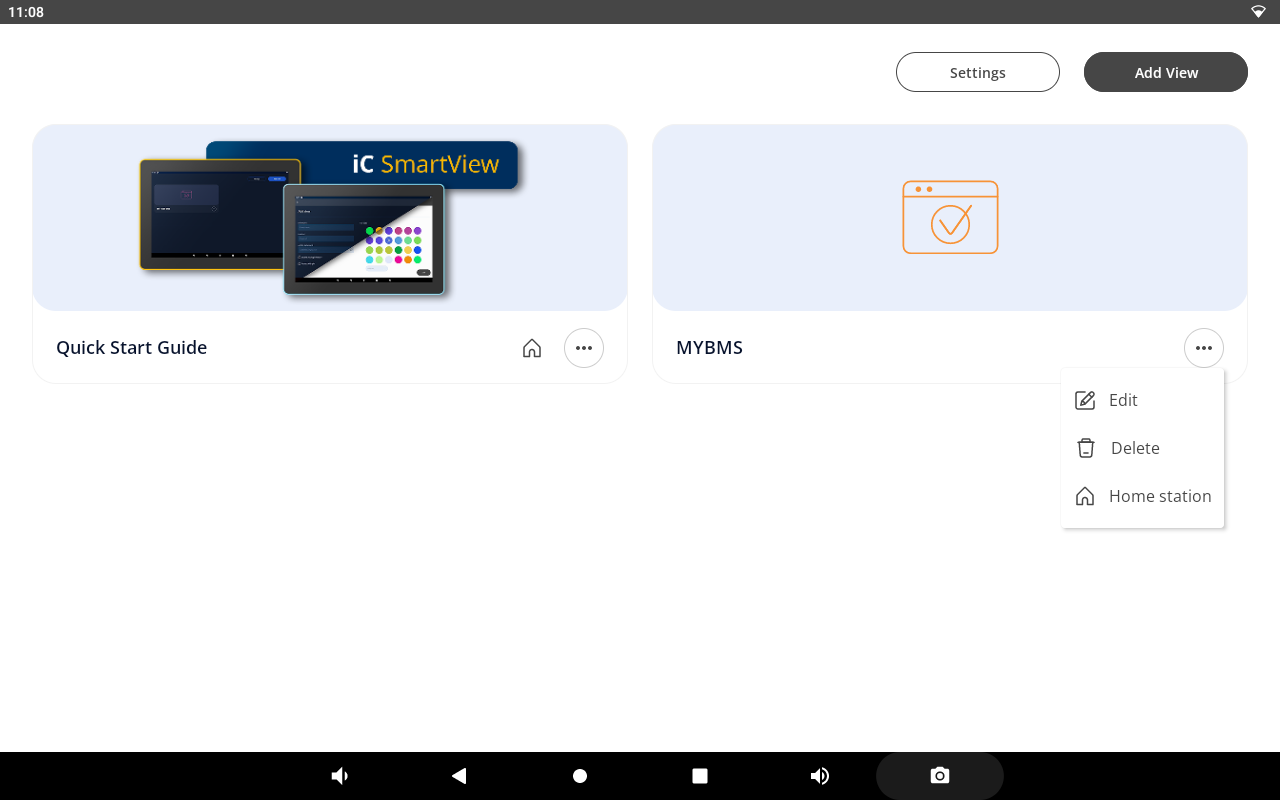
List of stations, with options