The Visualization web server package contains files for configuration of the web server functionalities and looks.

Visualization web server files
-
Generation Output Files folder: created upon using the Generate XML File button in the Visualization_configurator.xls file; contains all files necessary for the configured web server to operate properly;
-
.png files: image files including icons and picture for specific functions; among them:
-
logo: a file defining a default logo displayed in the web server;
-
picture: a file defining a default image displayed on the web server's main page; by default, the iSMA-B-AAC20 image is displayed;
-
Note: Dimensions of a picture window are 300 px x 300 px, and it is recommended to use pictures of this resolution. Pictures with higher resolution will be scaled automatically, however, it may extend page loading time. Maximum recommended image size is 500 kB.
-
main.html: a file responsible for a main view of the visualization template in the web server;
Note: Please do not change the name of this file for a first configuration of the visualization. Changing the name of the main.html for the first configuration may cause error no. 404 "Page not found". However, it is recommended to change the name of this file for next configurations.
-
schedule.html: a file responsible for schedules configuration;
-
Visualization_configurator.xls: a main configuration file for the web server.
The Visualization web server folder contains files necessary to install on the SD card and flash memory of the iSMA-B-AAC20 controller:
-
files to be installed on the flash memory of AAC20;
-
files to be installed on the SD card.
Installation on the Flash Memory
There is one file, which needs to be installed directly in the iSMA-B-AAC20's flash memory. To upload the file, run the AAC20 Updater software and configure the connection appropriately. Then, upload the following file with the AAC20 Updater:
-
Index.html: activates .html files on the SD card.
Note: Cleaning of the flash memory from the uploaded files is carried out by erasing all components in the controller, which means that also the kits and applications are erased during this process (it is done with the Erase Flash Memory option in the context menu after right-clicking the Send File button).
Installation on the SD Card
Files to be copied on to the SD card are located in the Generation Output Files folder. These files are generated upon using the Generate XML File button in the Visualization_configurator.xls file.
To install files on the SD card, first, place the SD card in the card reader of a computer. Then, copy all files located in the SD card folder to the actual SD card:
Warning!
While copying files to the SD card, please remember to copy files from inside the Generation Output Files folder, and paste them to the SD card directly, instead of copying the folder with its contents itself. Copying the folder and pasting it to the SD card will cause the visualization web server error. It is also not allowed to group files in folders.
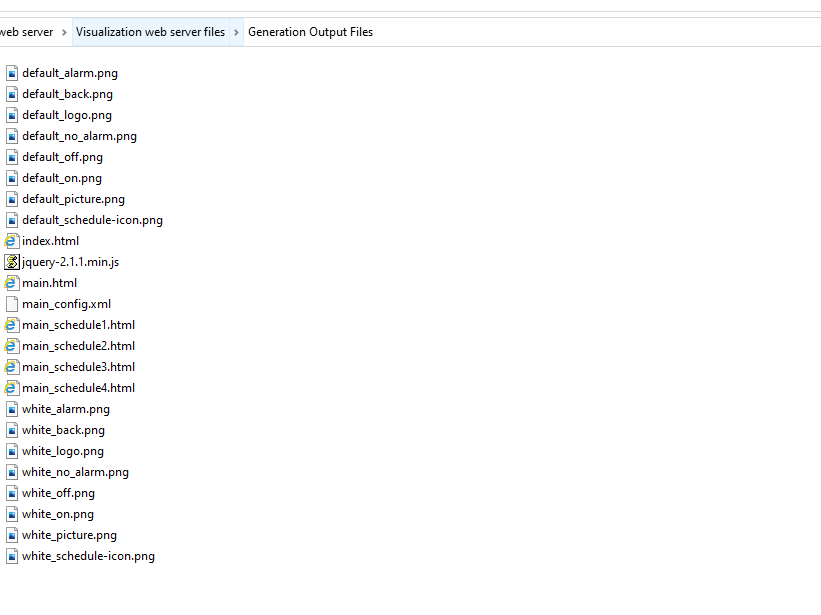
Generation Output Files folder
All files must be copied to the main folder on SD card. It is not allowed to group files in folders. Files for the installation on the SD card are the following:
-
.png files: default image files generated based on the files in the Visualization web server main folder;
-
index.html;
-
jquery: engine file;
-
main.html: a file responsible for a main view of the visualization template in the web server;
-
main_config.xml: a file containing the web server configuration;
-
main_schedule1-4.html: files responsible for the schedules views in the web server.
Next, disconnect the card from the computer using the secure disconnect device function. Place the SD card in the iSMA-B-AAC20 while the controller is powered off.
Note: It is important to remember that disconnecting the iSMA-B-AAC20 from the power supply does not mean that the unit is already completely powered off. It is necessary to wait about 5 to 15 seconds after all the signal diodes of the controller turn off. Only then the SD card can be safely placed in the controller. The same rule applies when taking the SD card out of the controller.